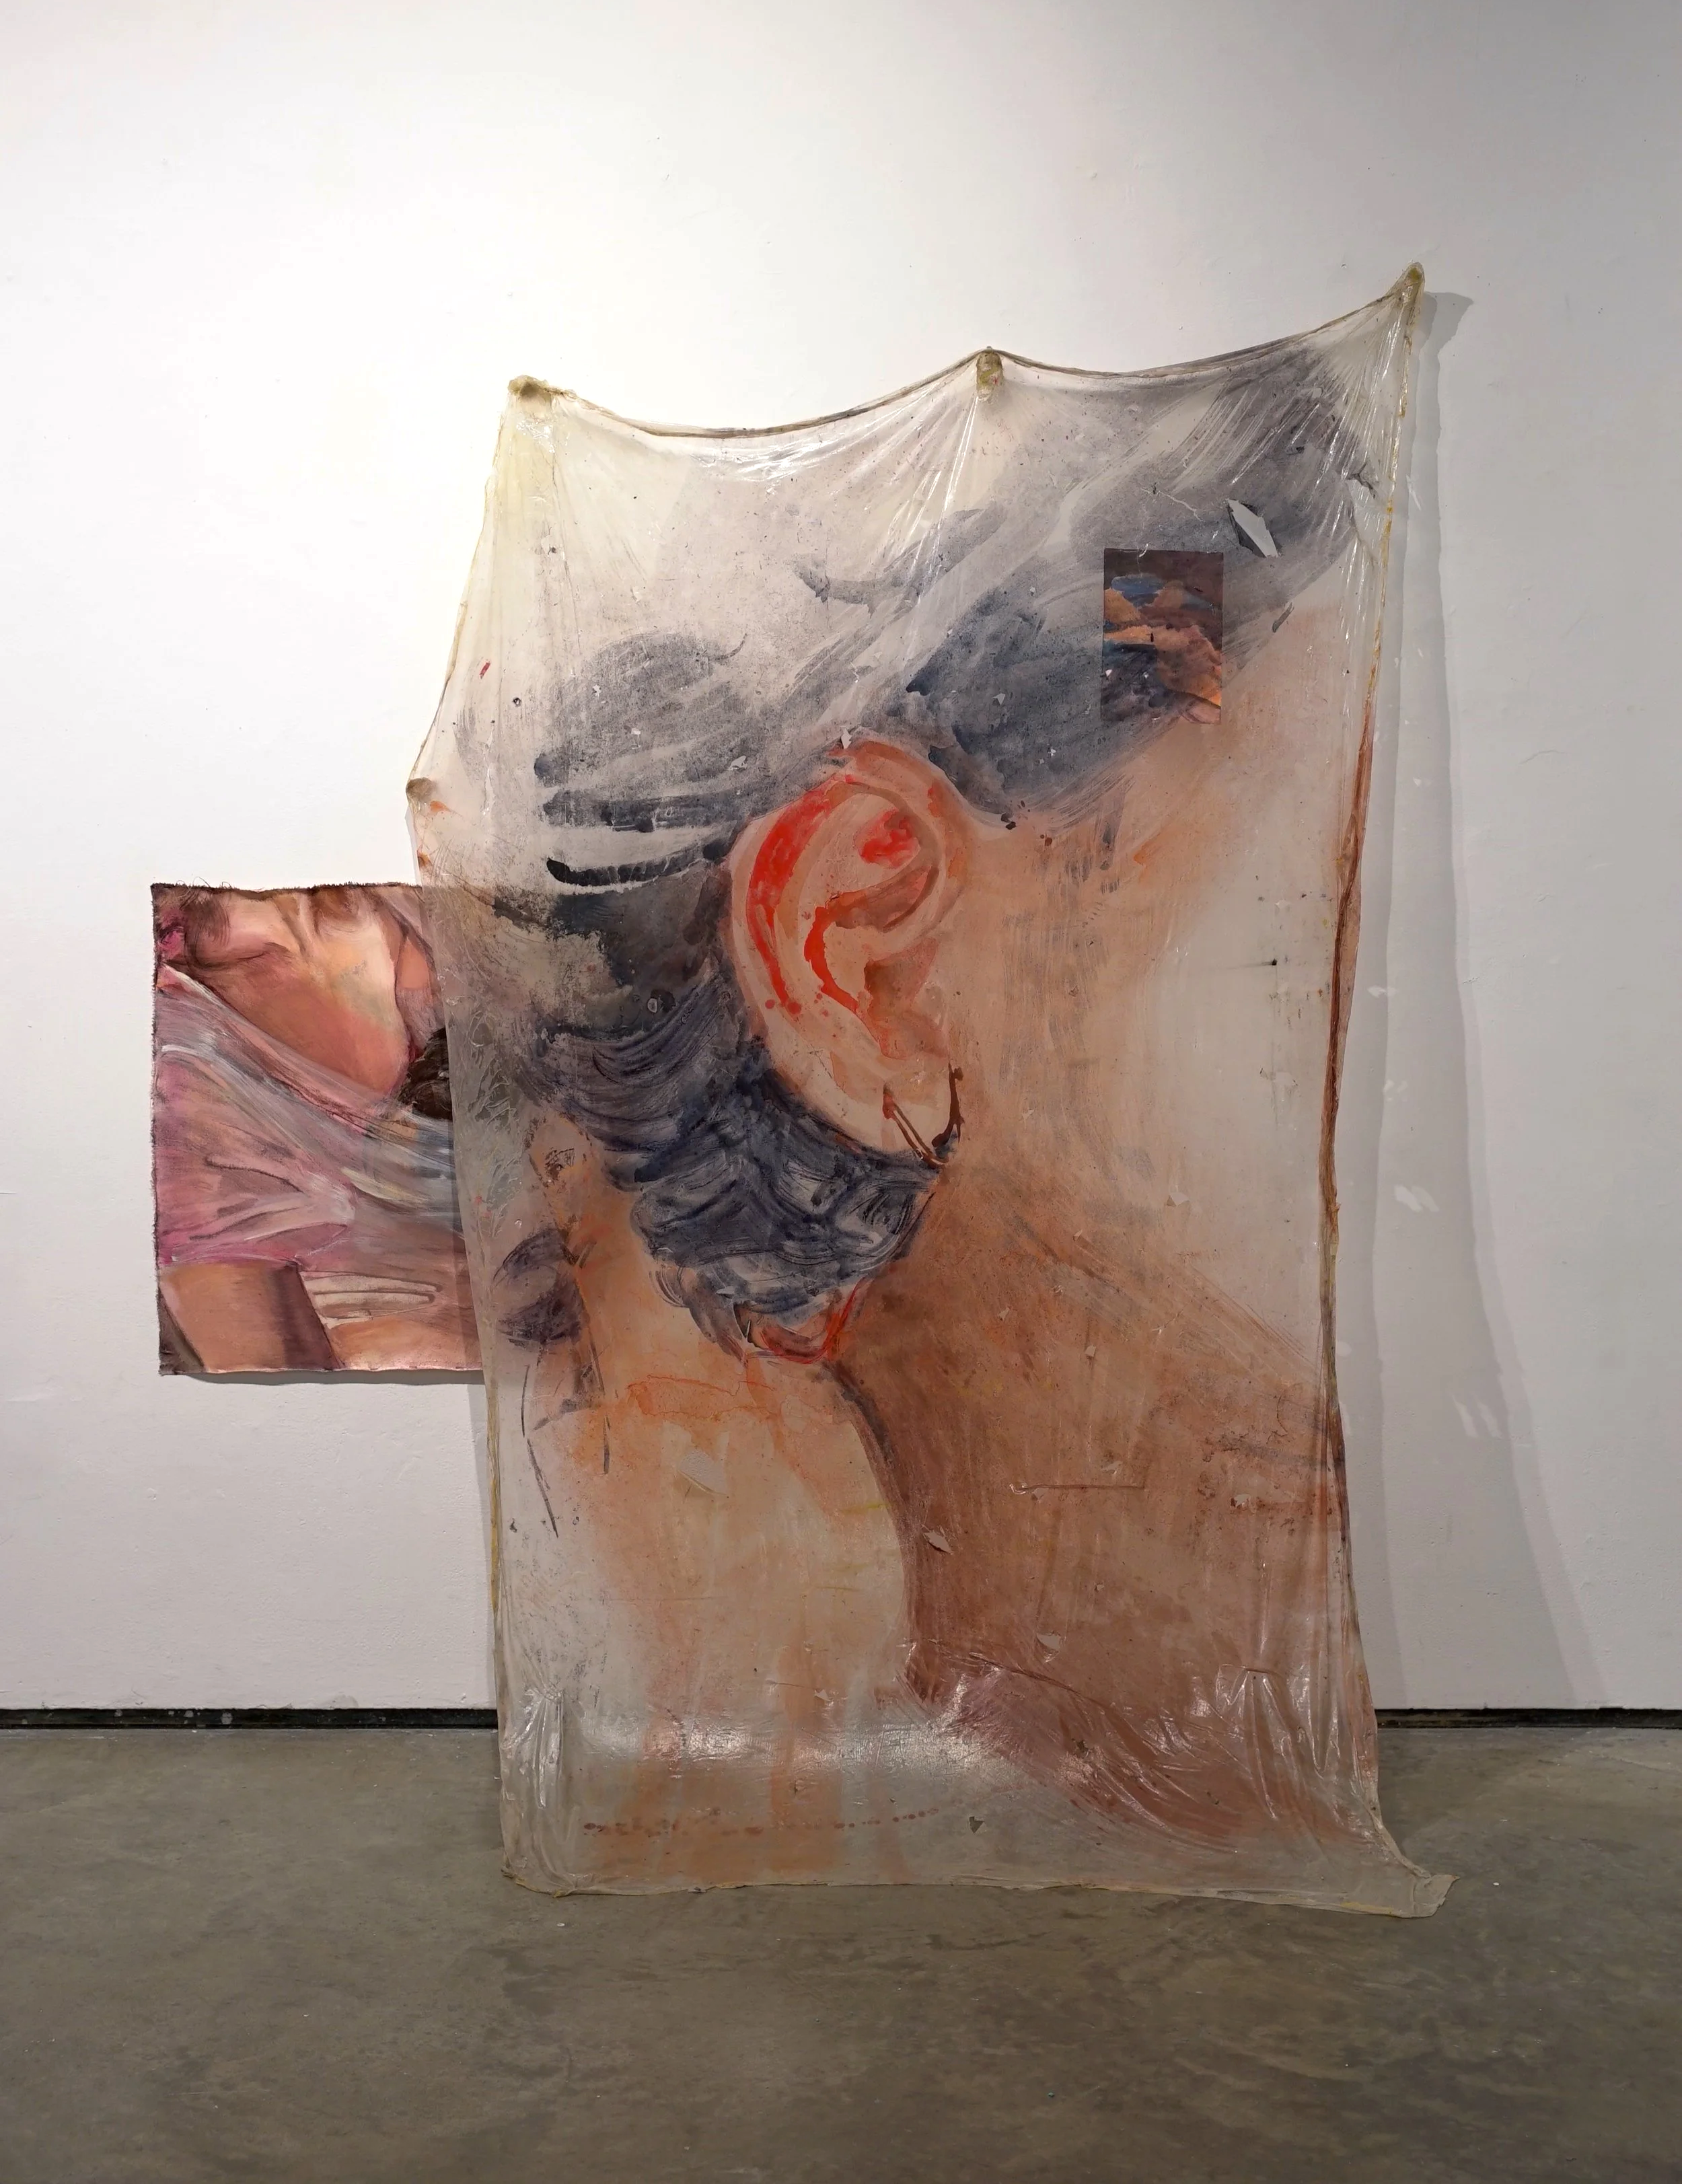
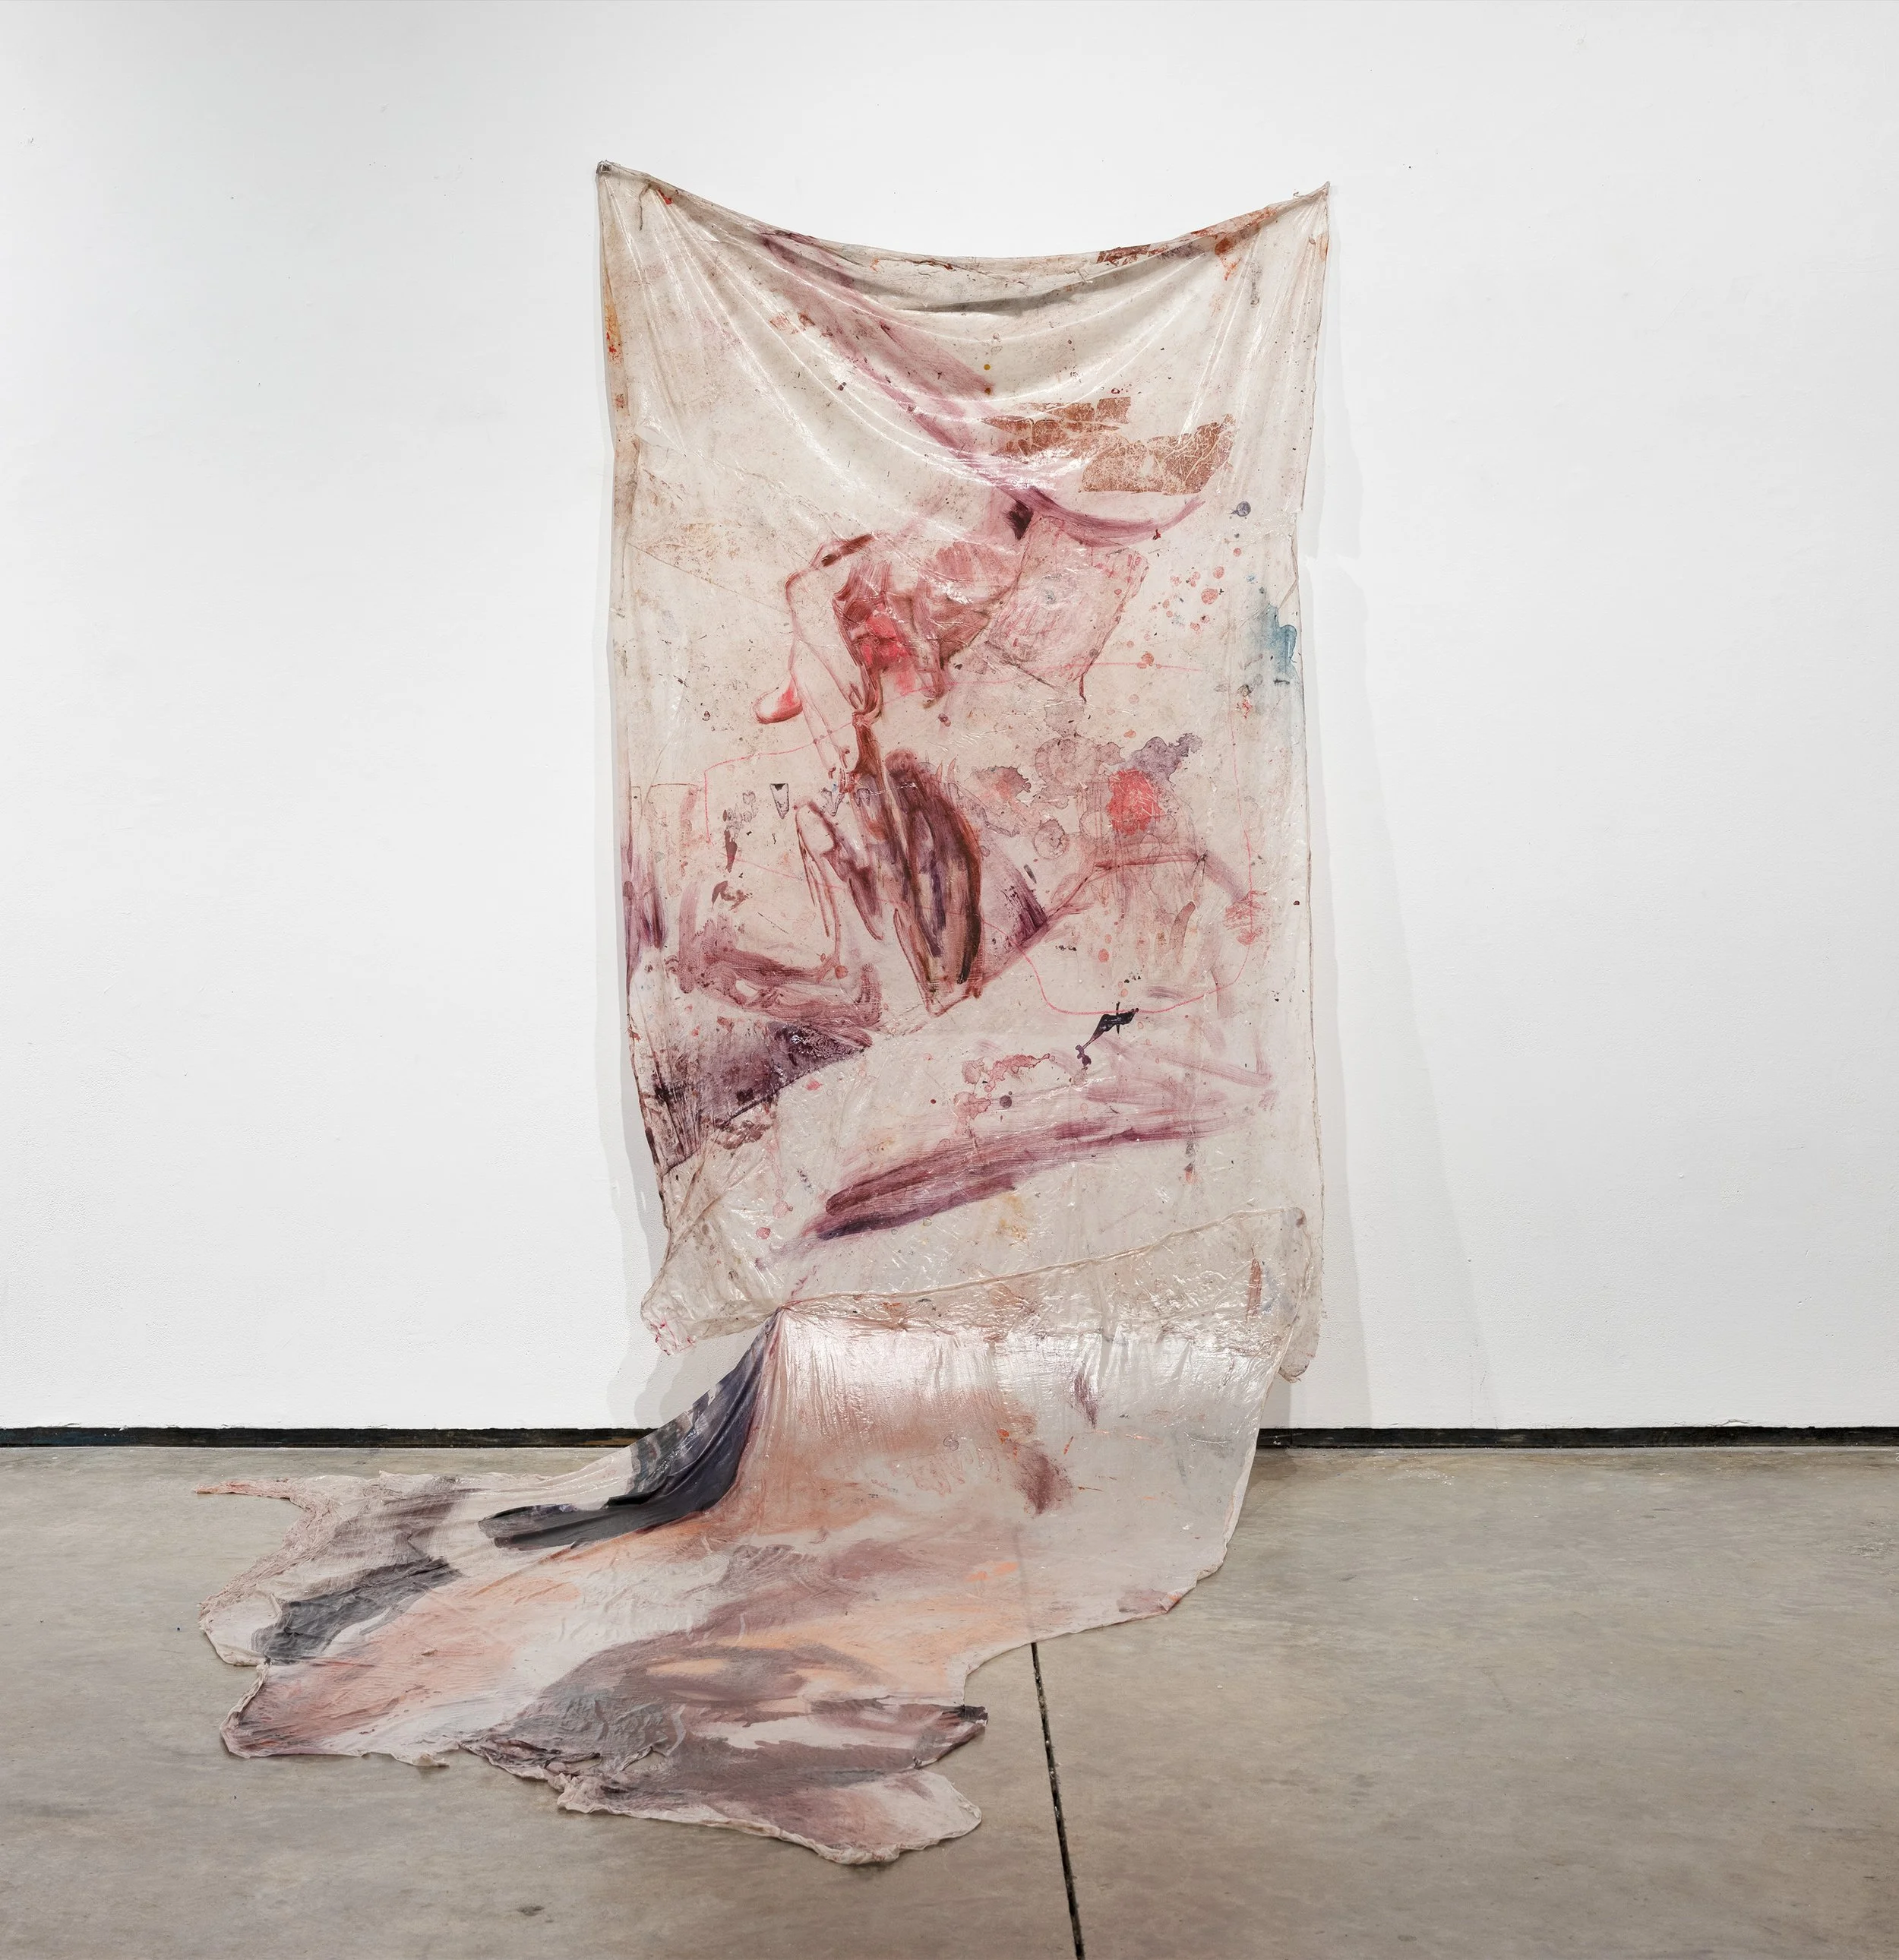
Curl Hold (2026) Acrylic in Synthetic Polymer with Mixed Media, 85"x70"
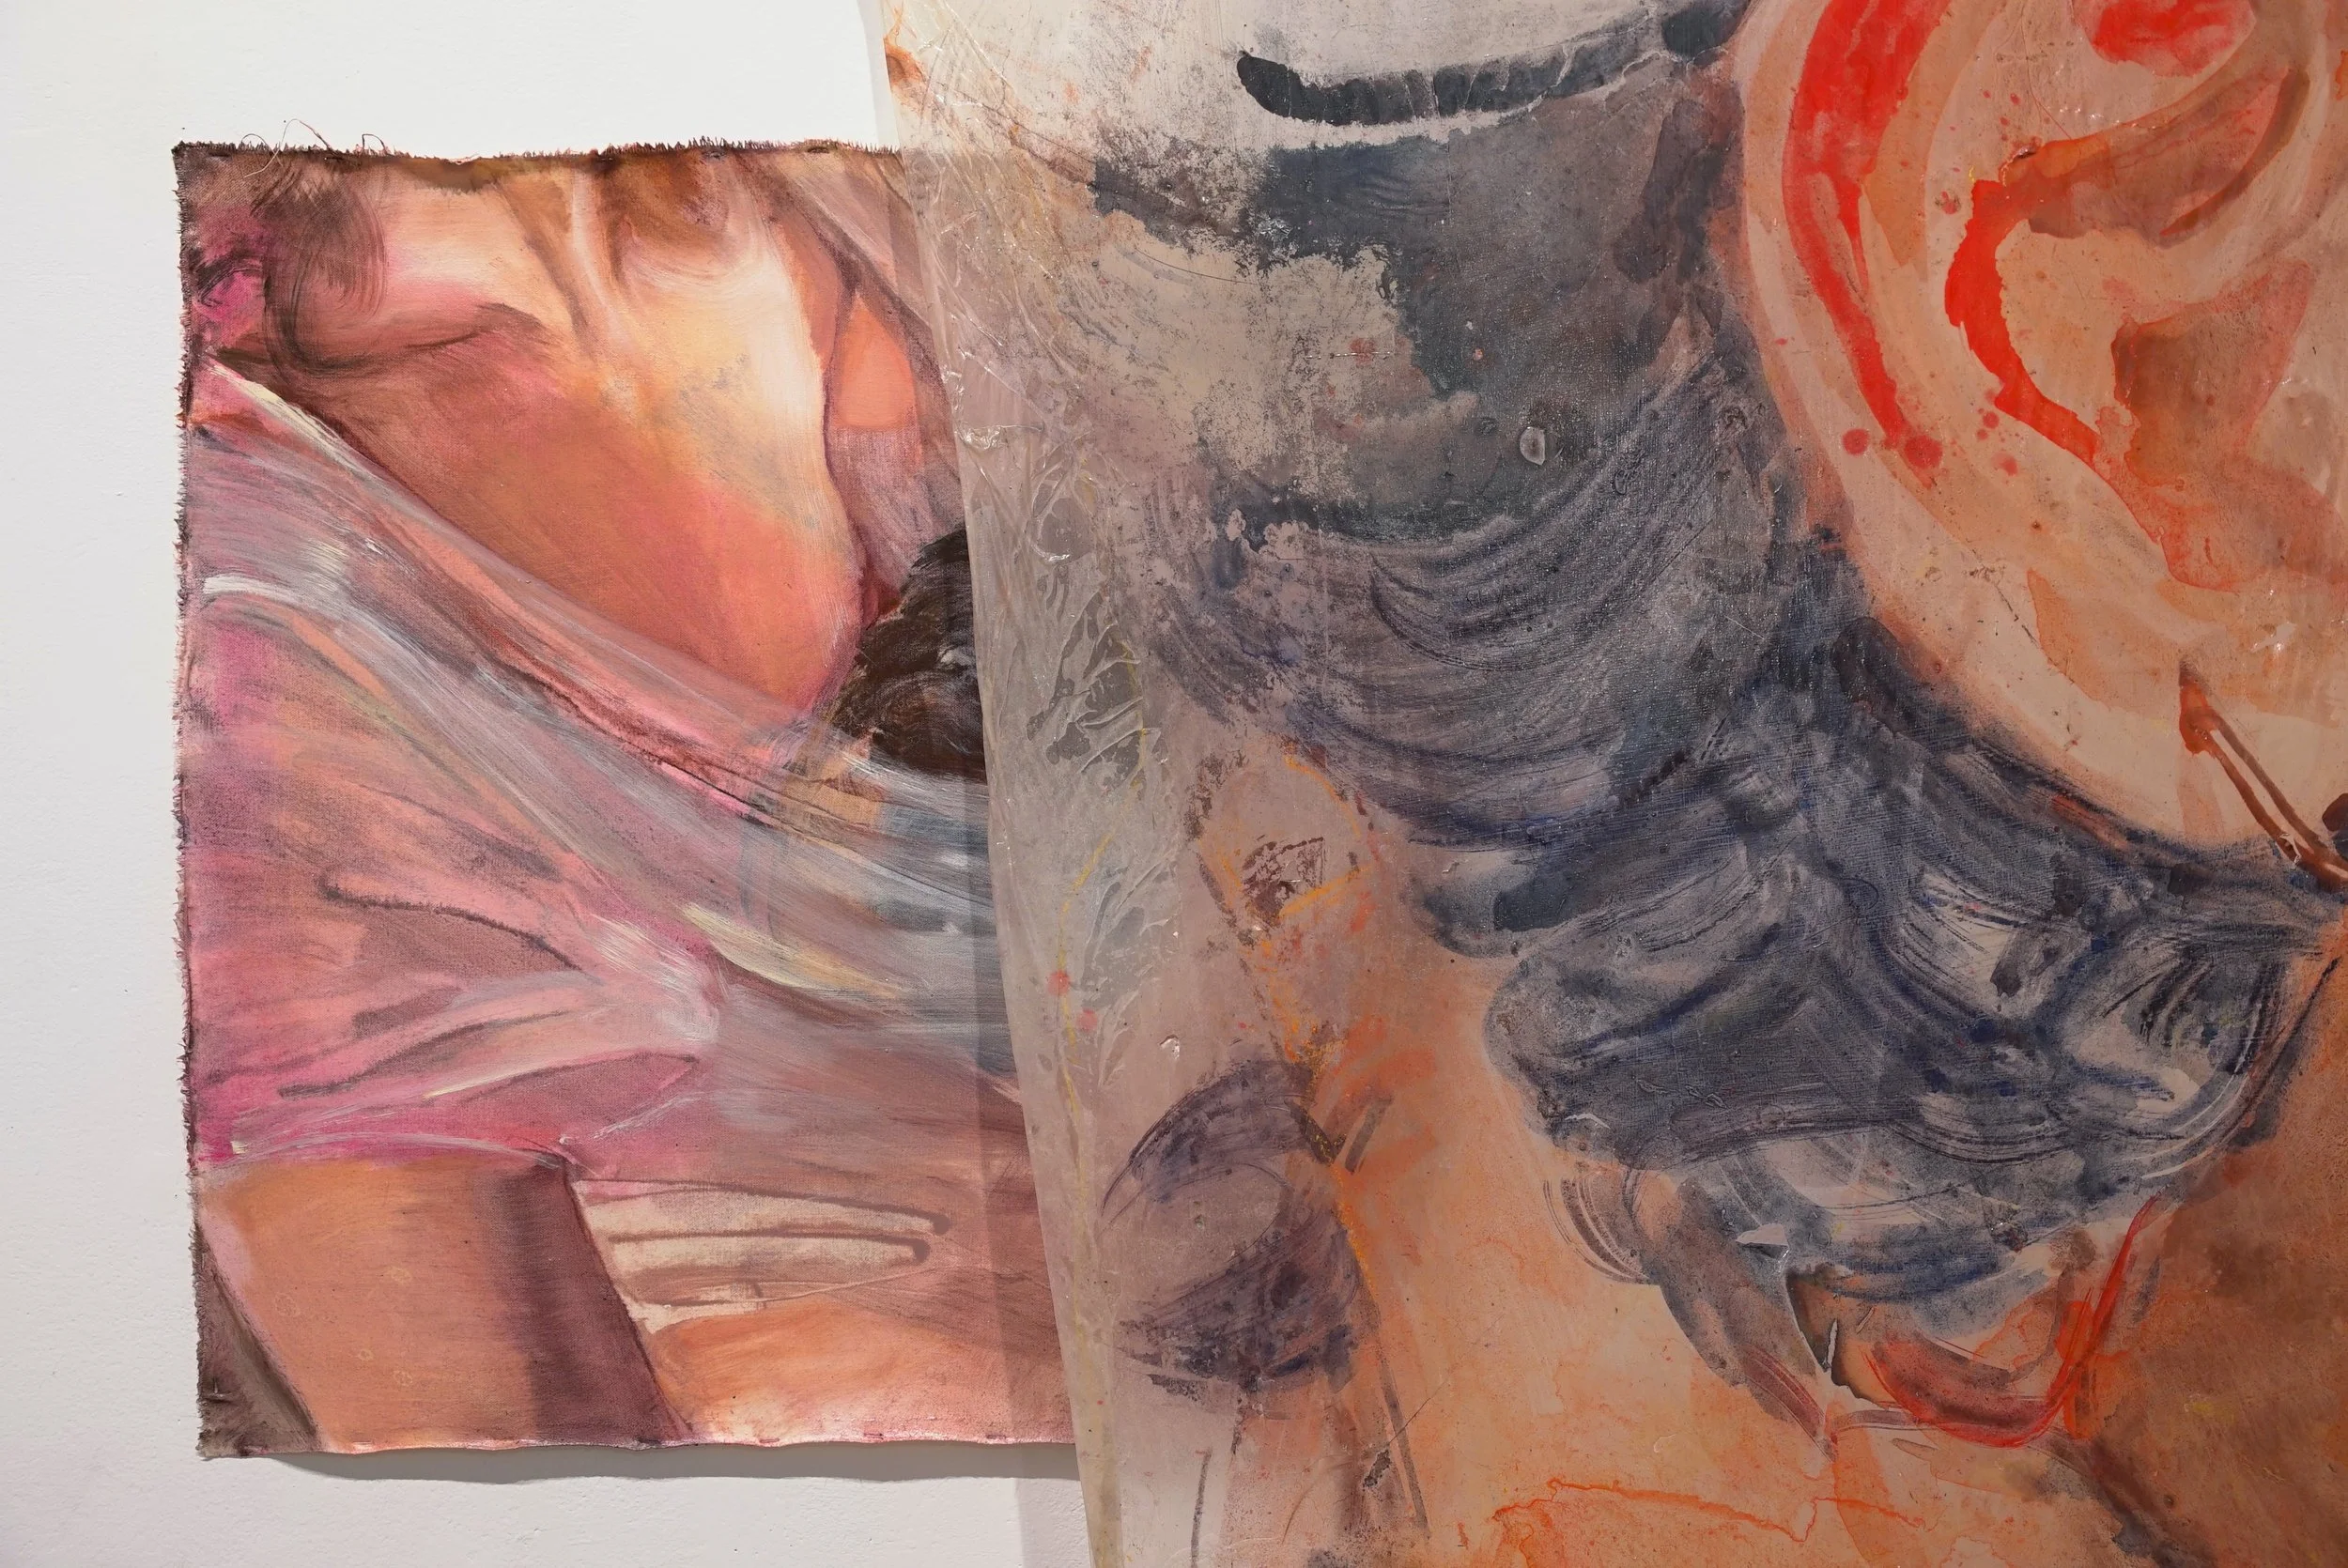
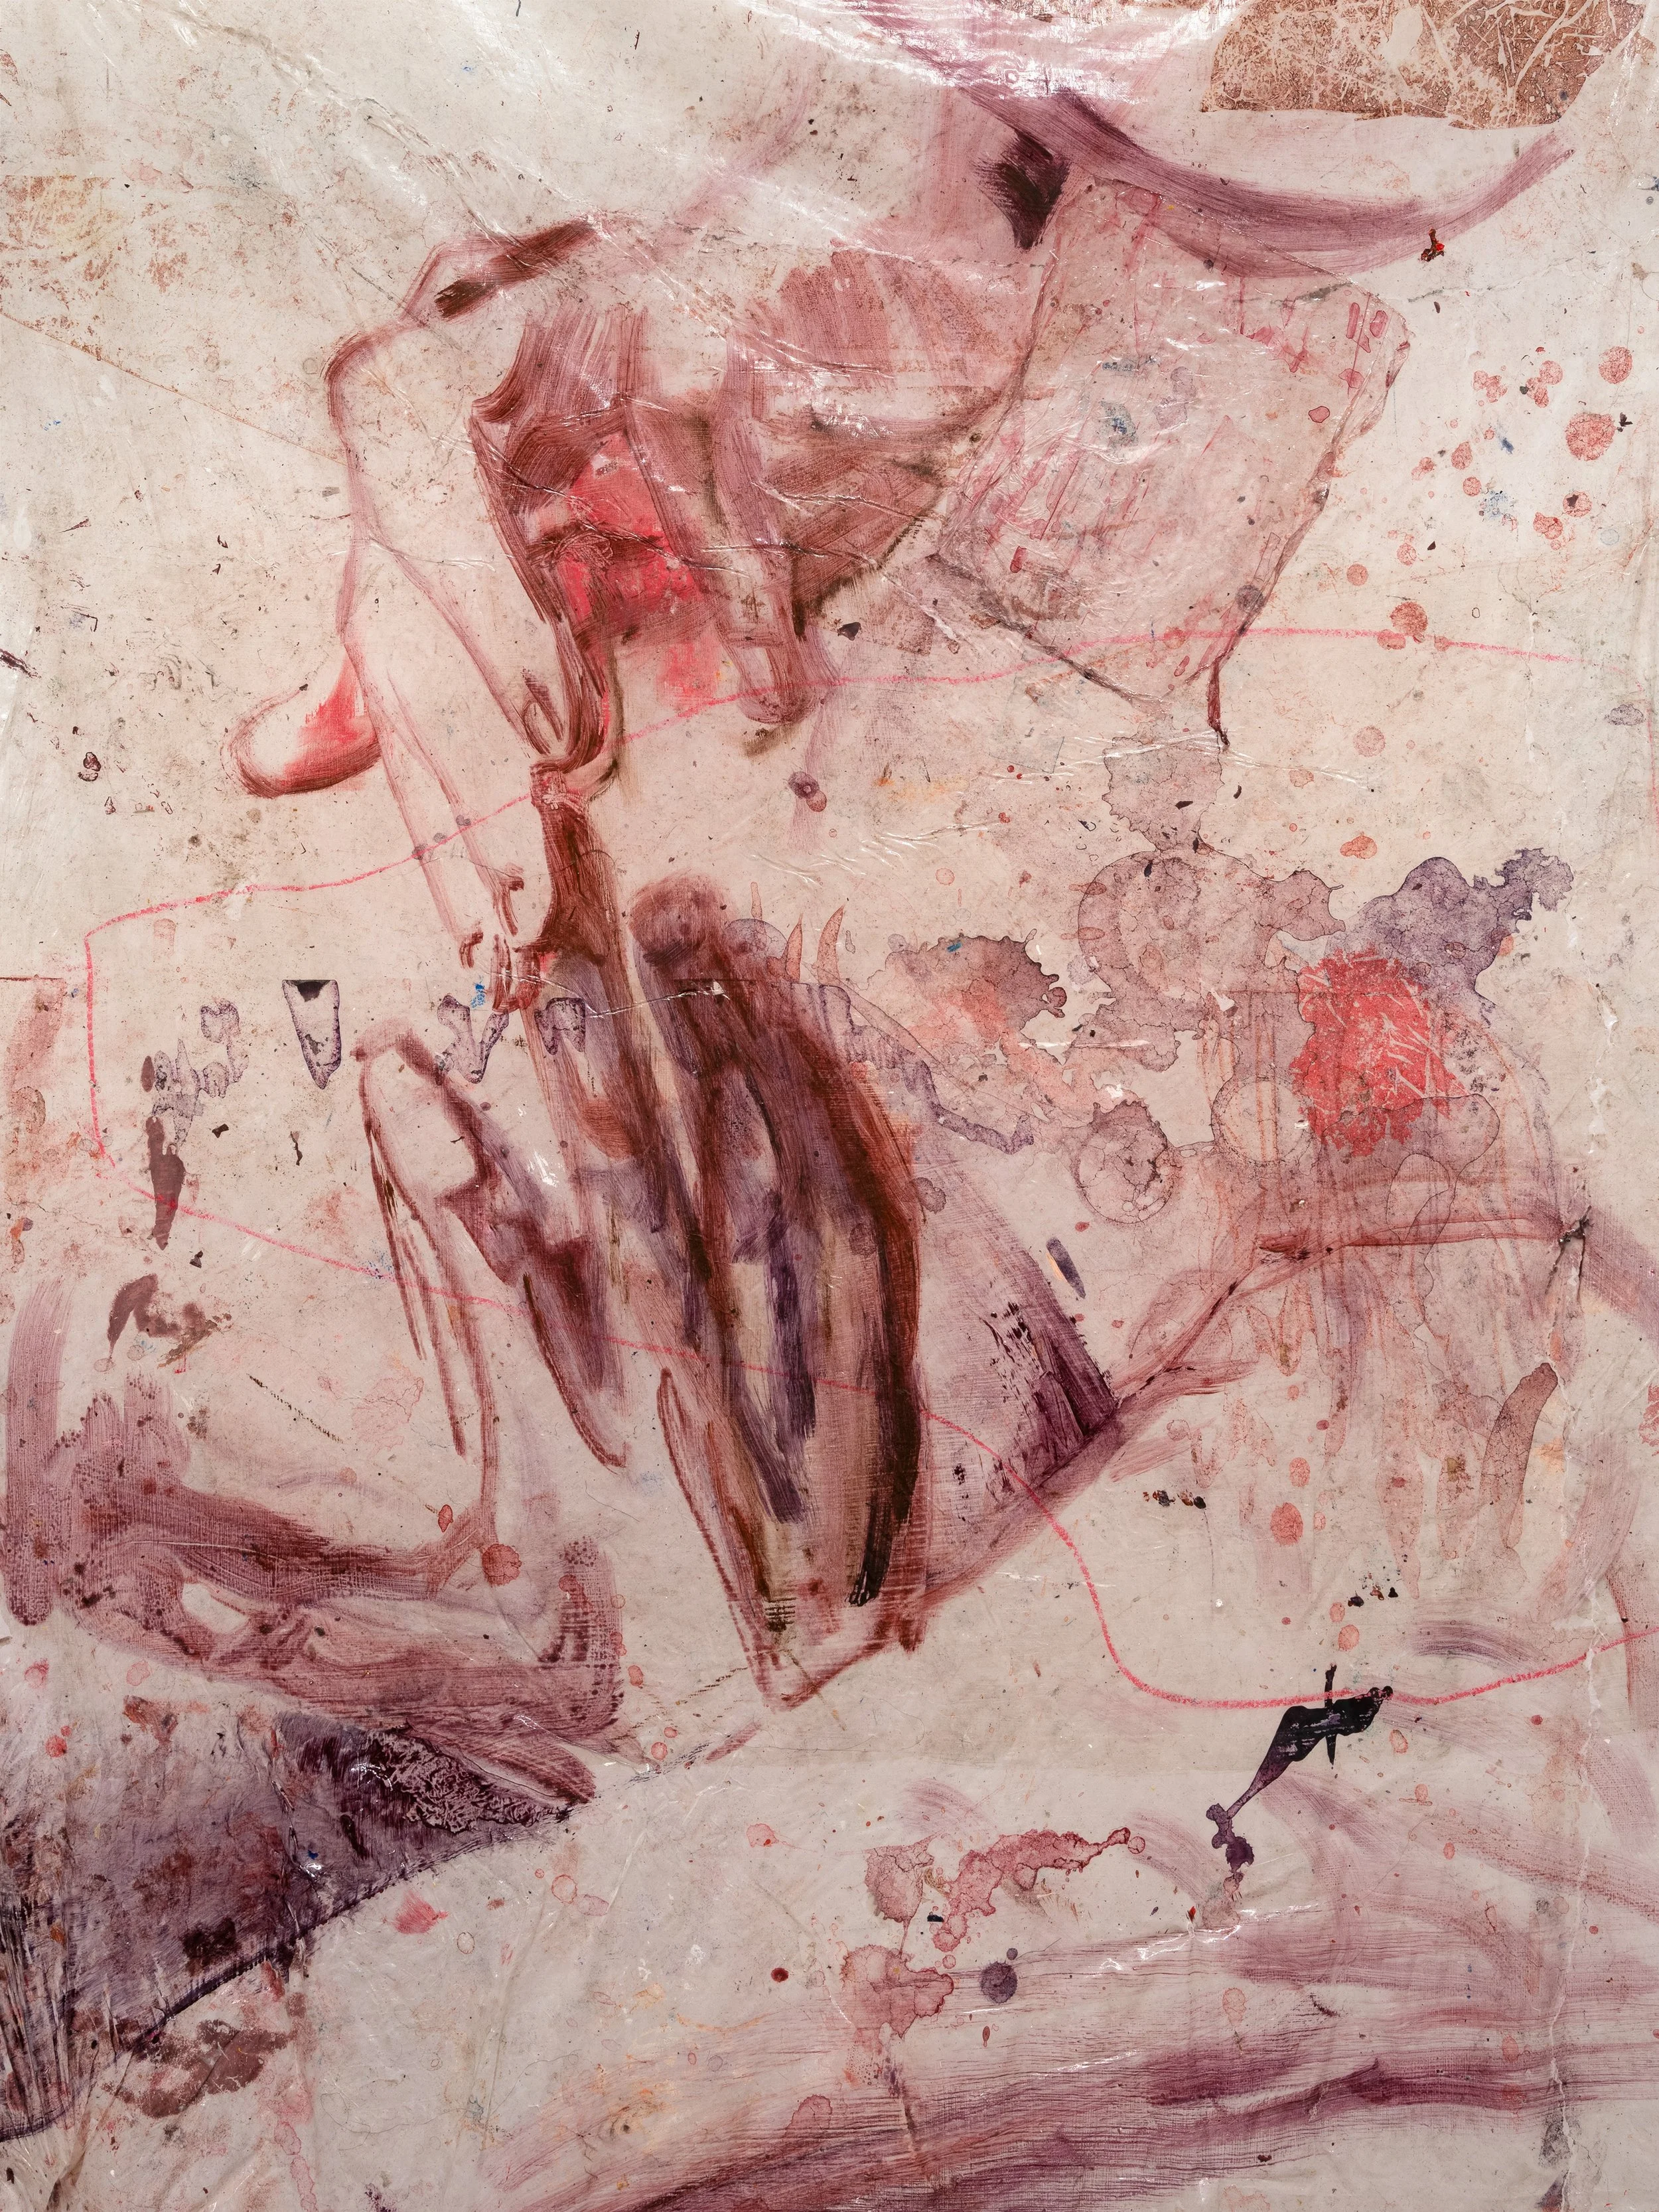
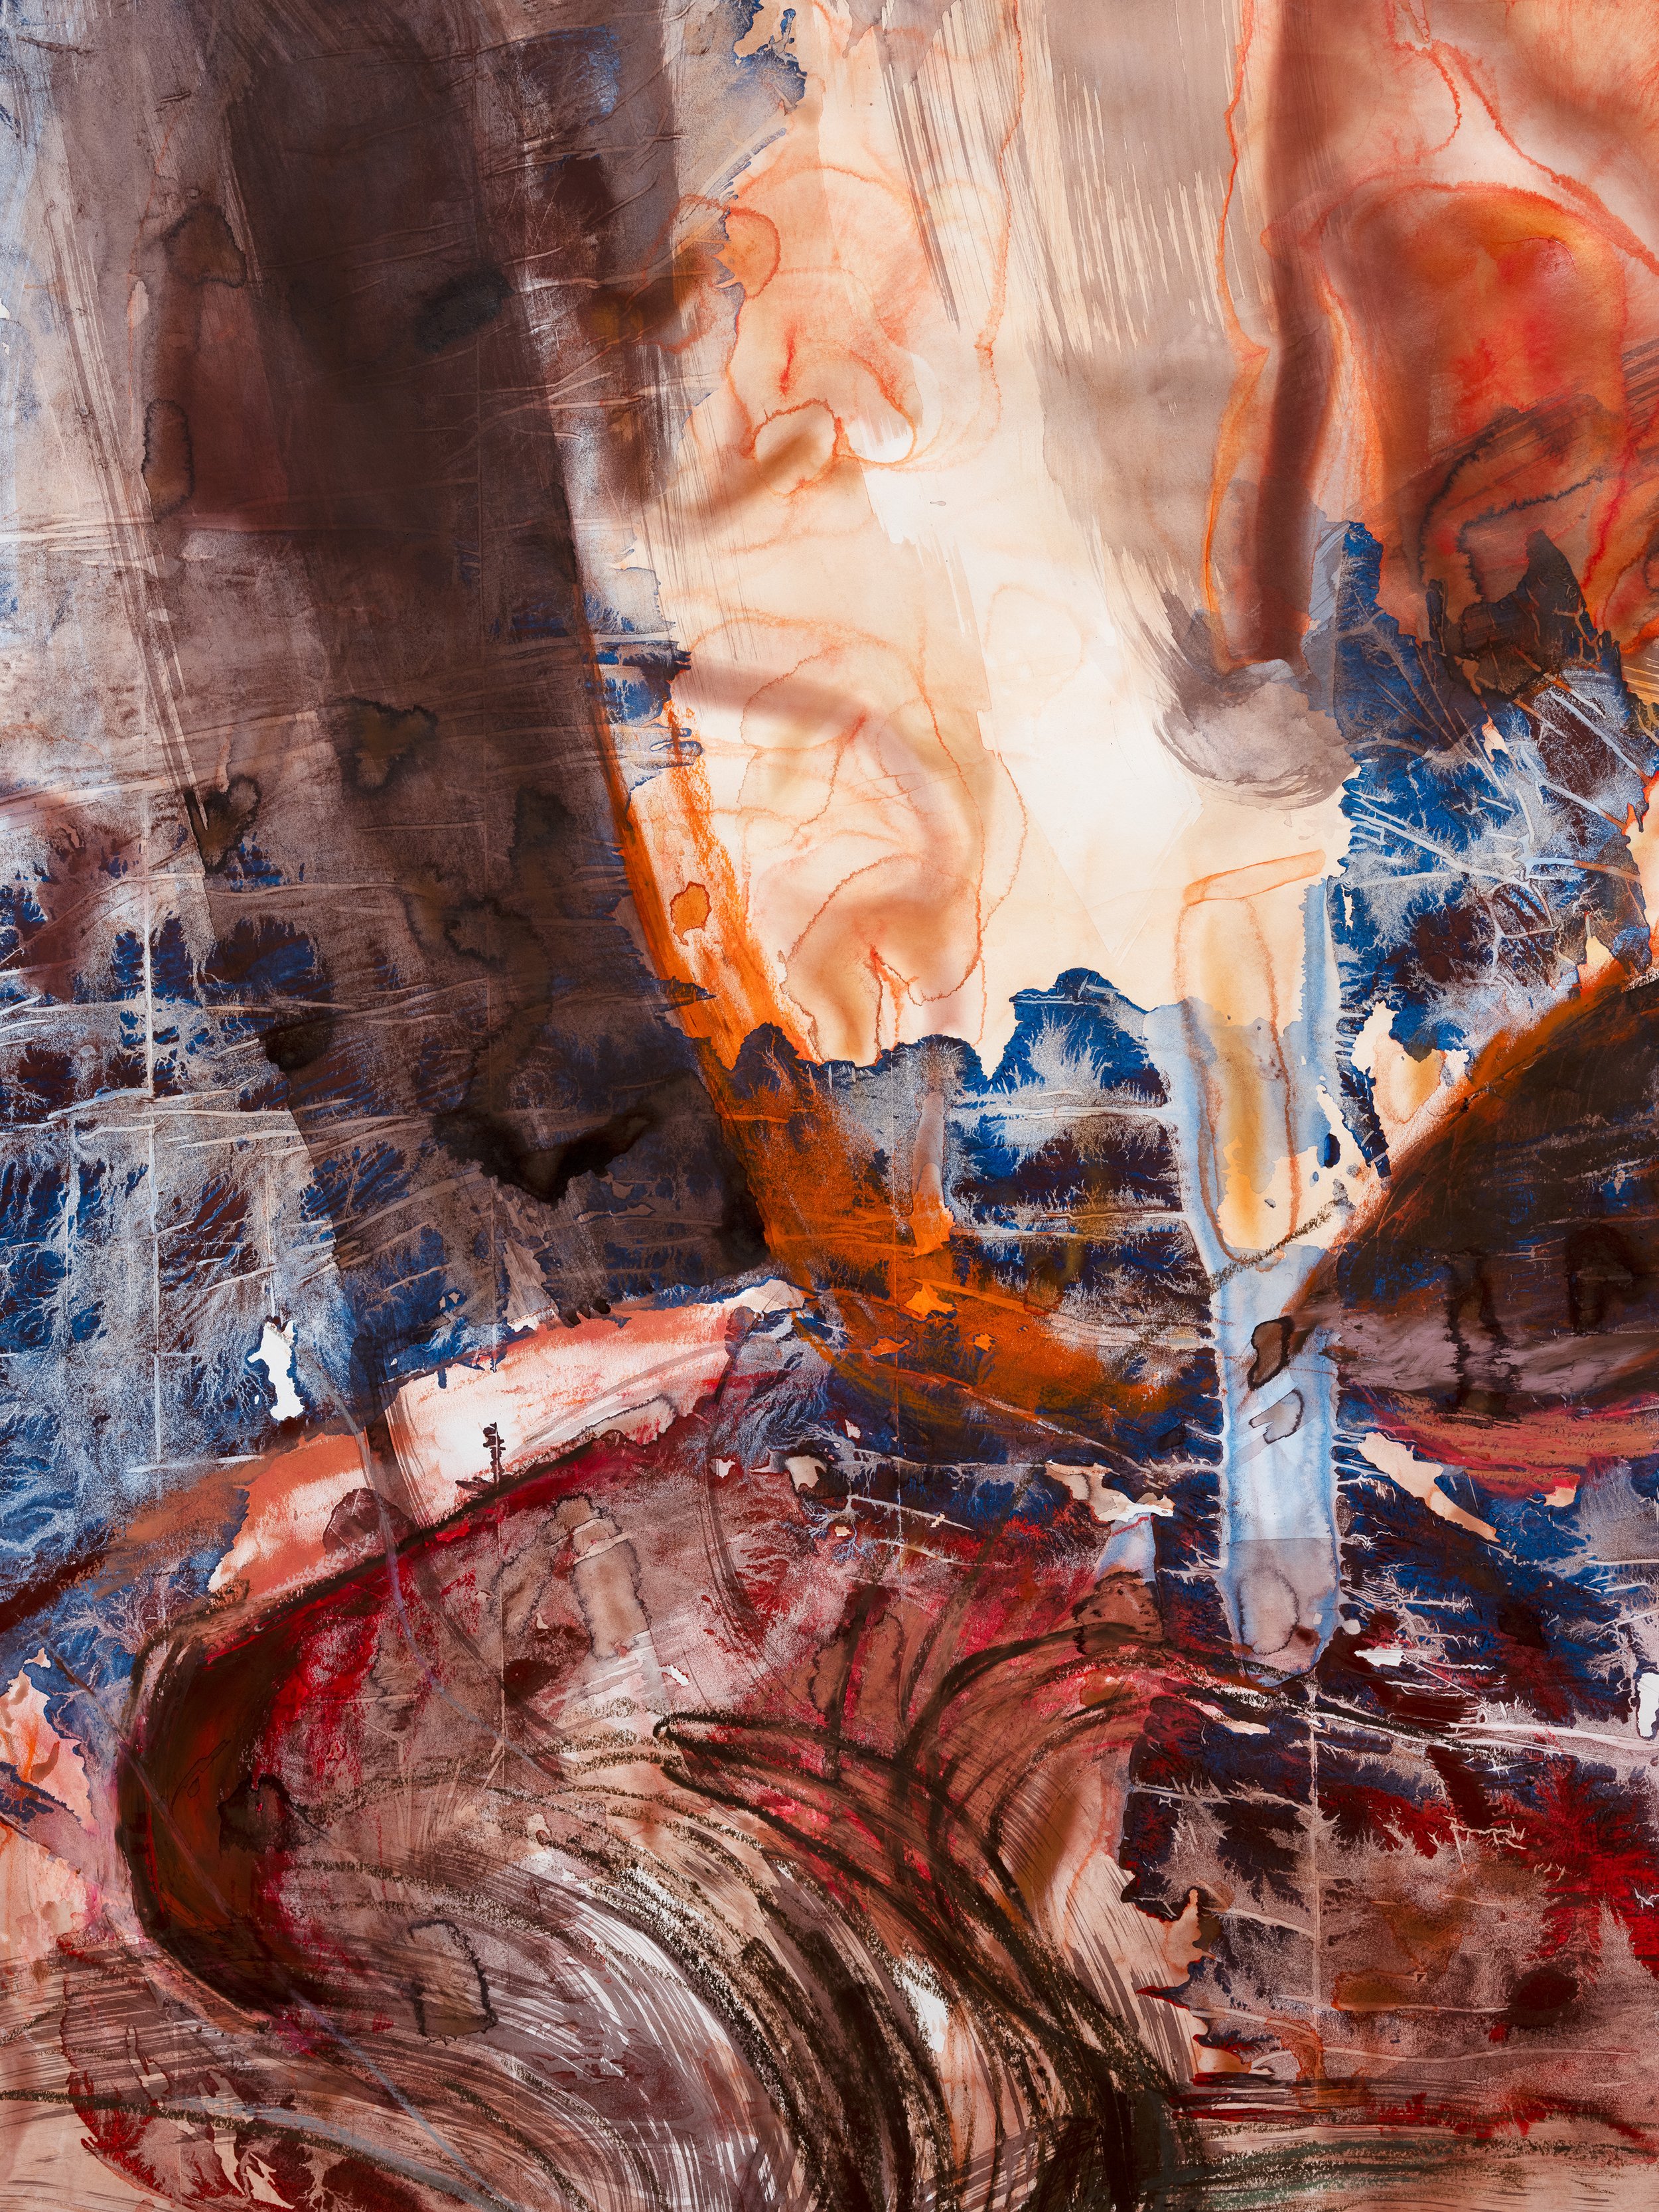
Curl Hold, Detail 1
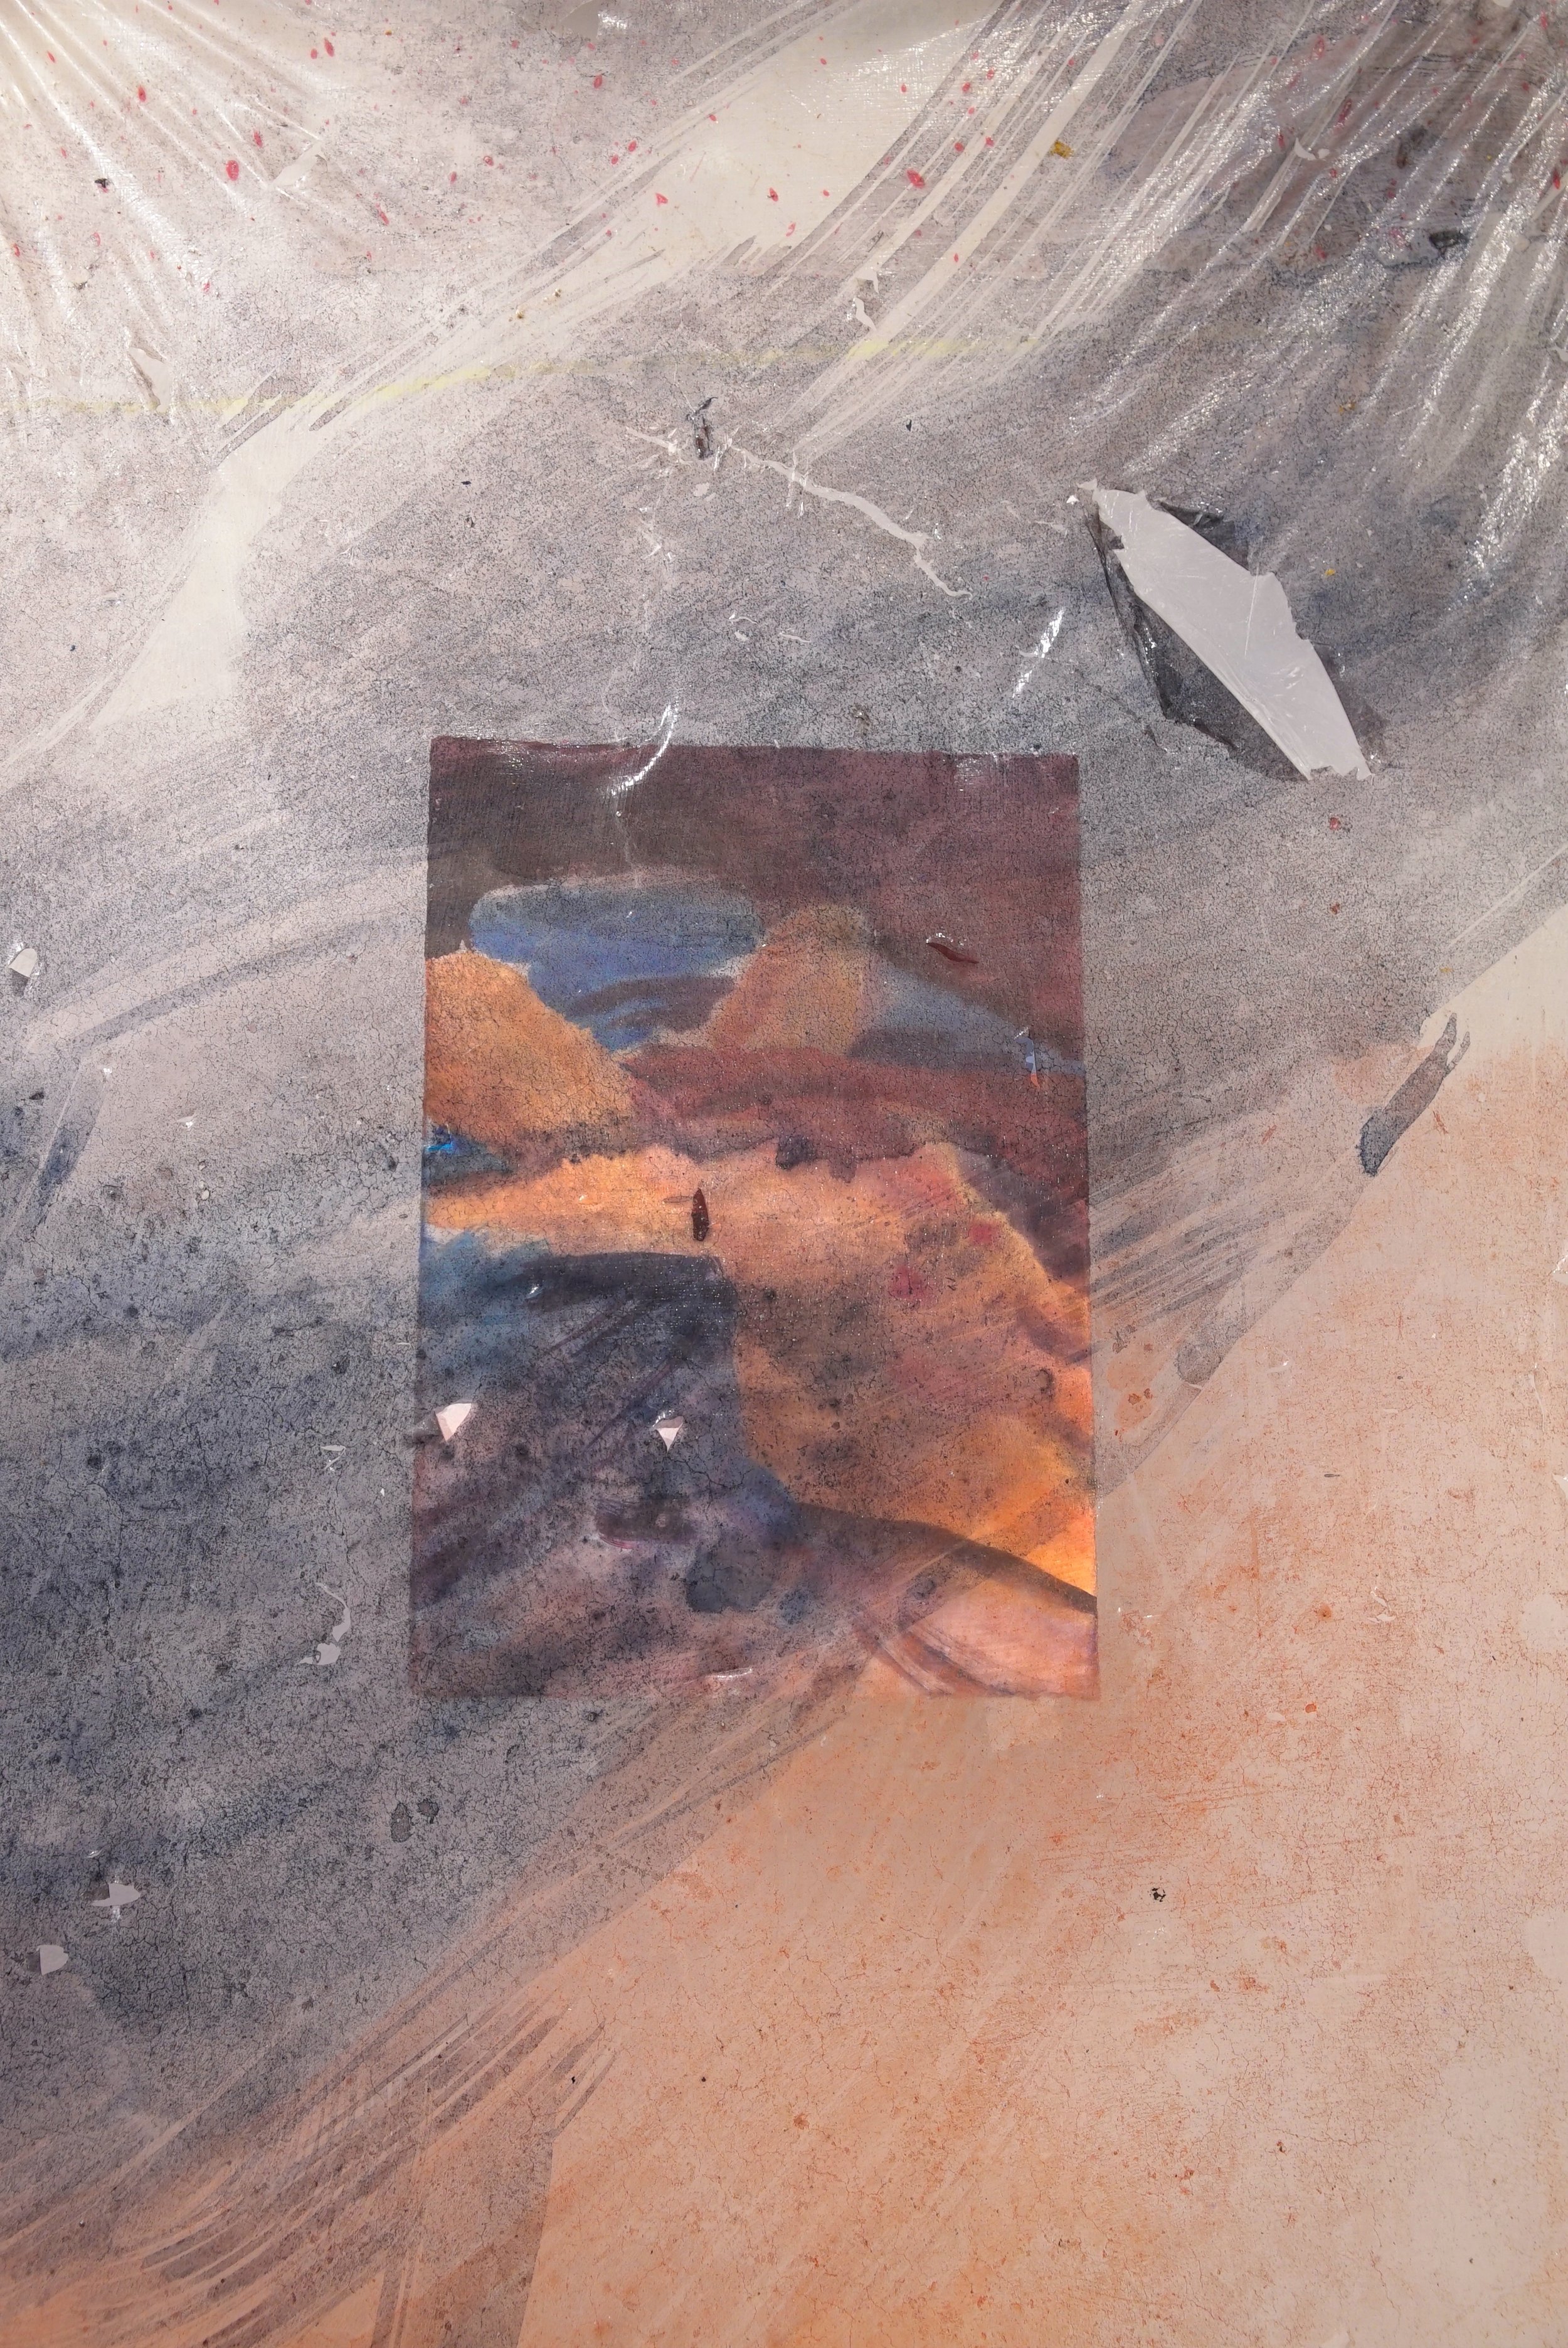
Curl Hold, Detail 2
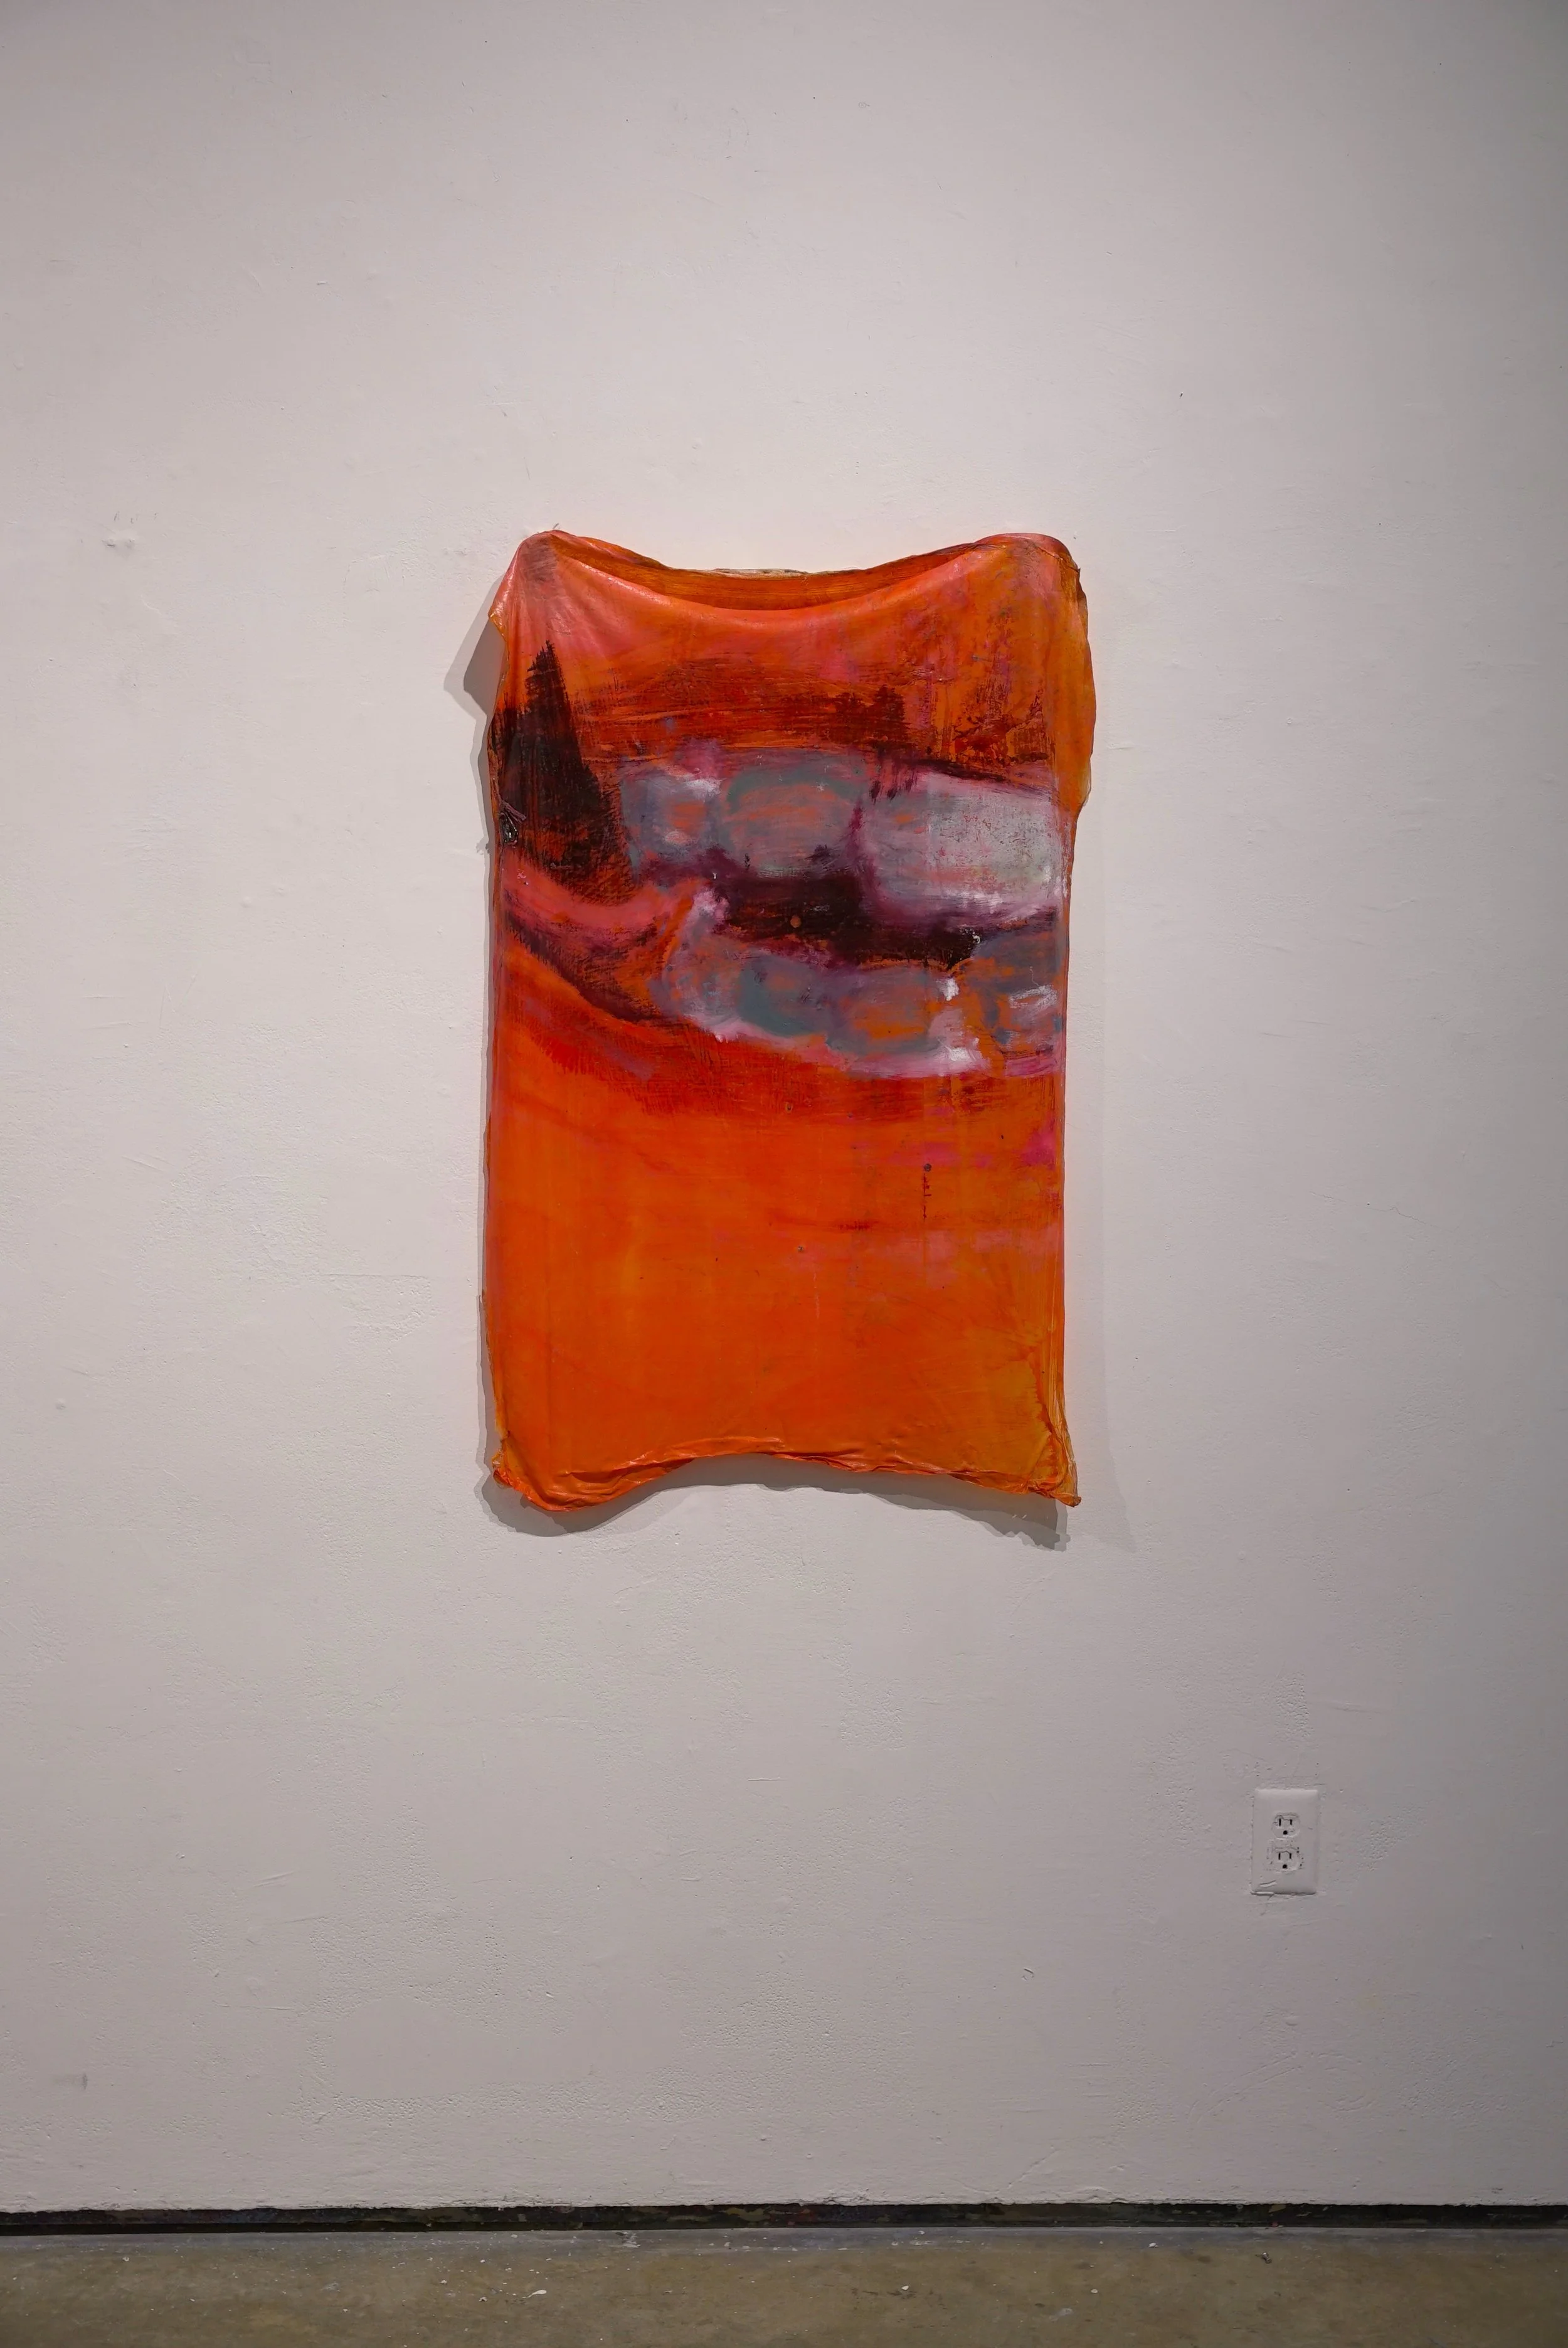
Cheek Bite (2026) Monotype on Sythnetic Polymer, 40"x24"
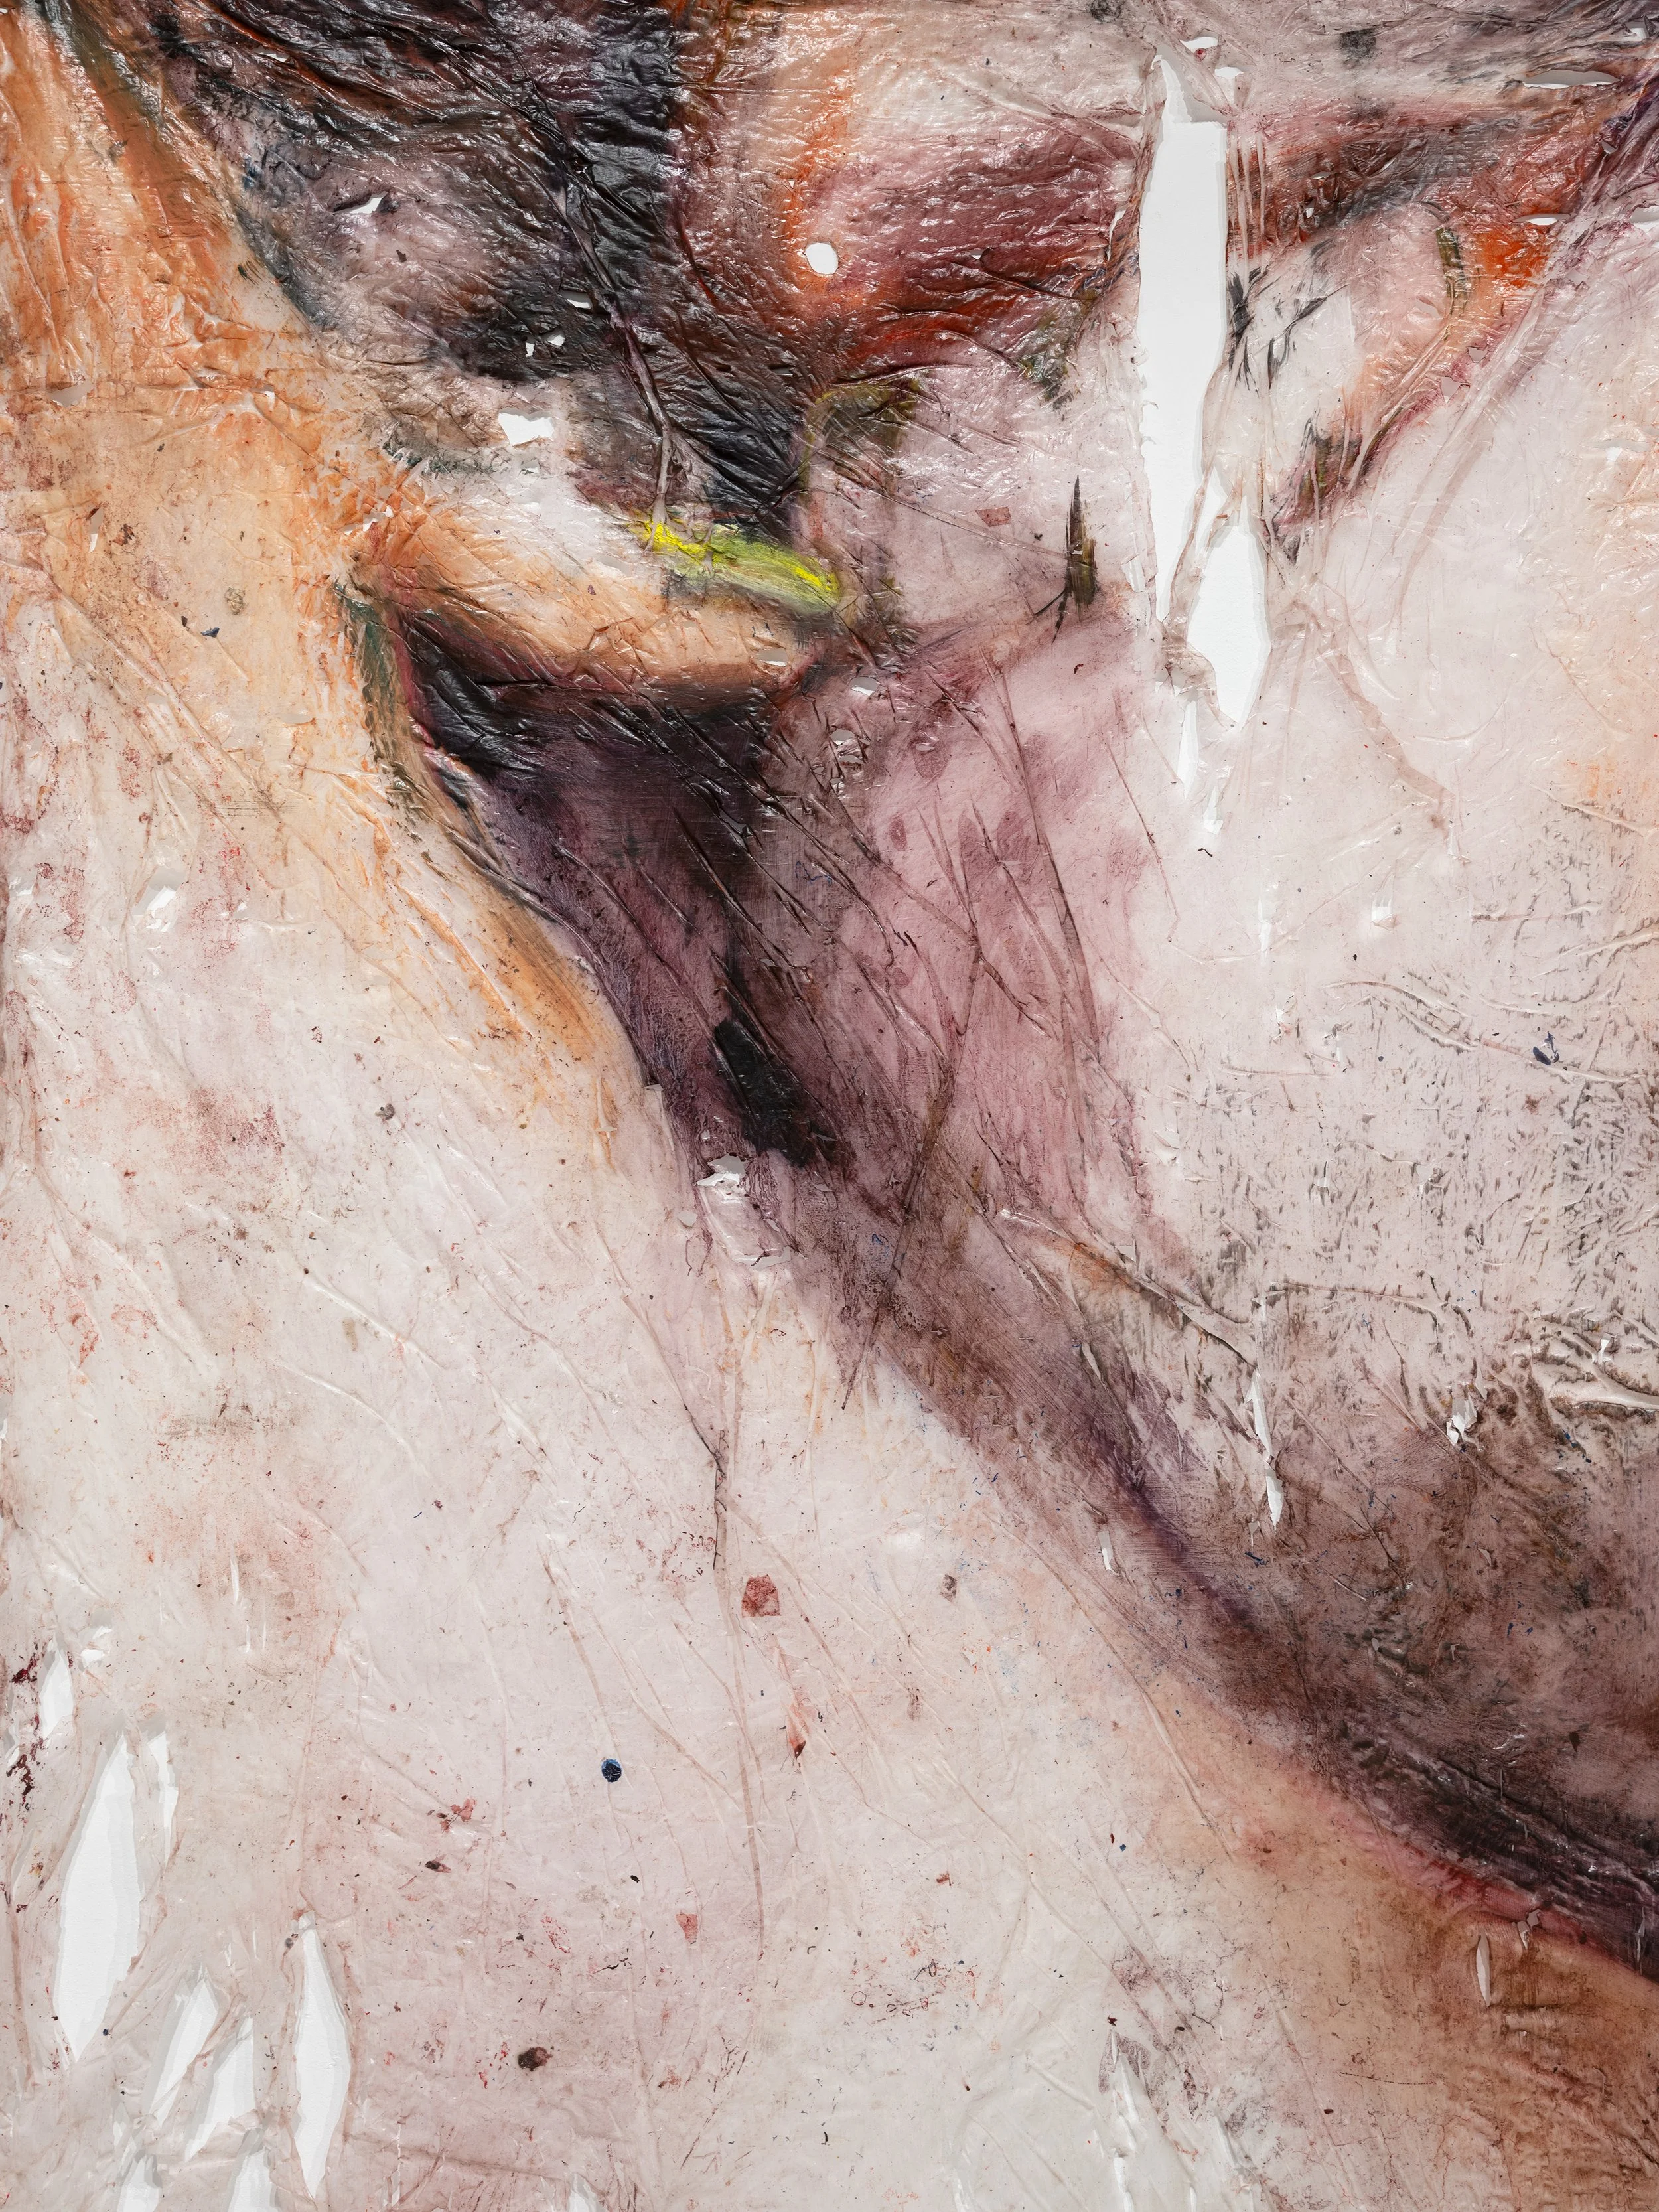
Floor Print III (2026) Oil and Acrylic on Synthetic Polymer Skin, 95”x60”
Floor Print III, Detail 1
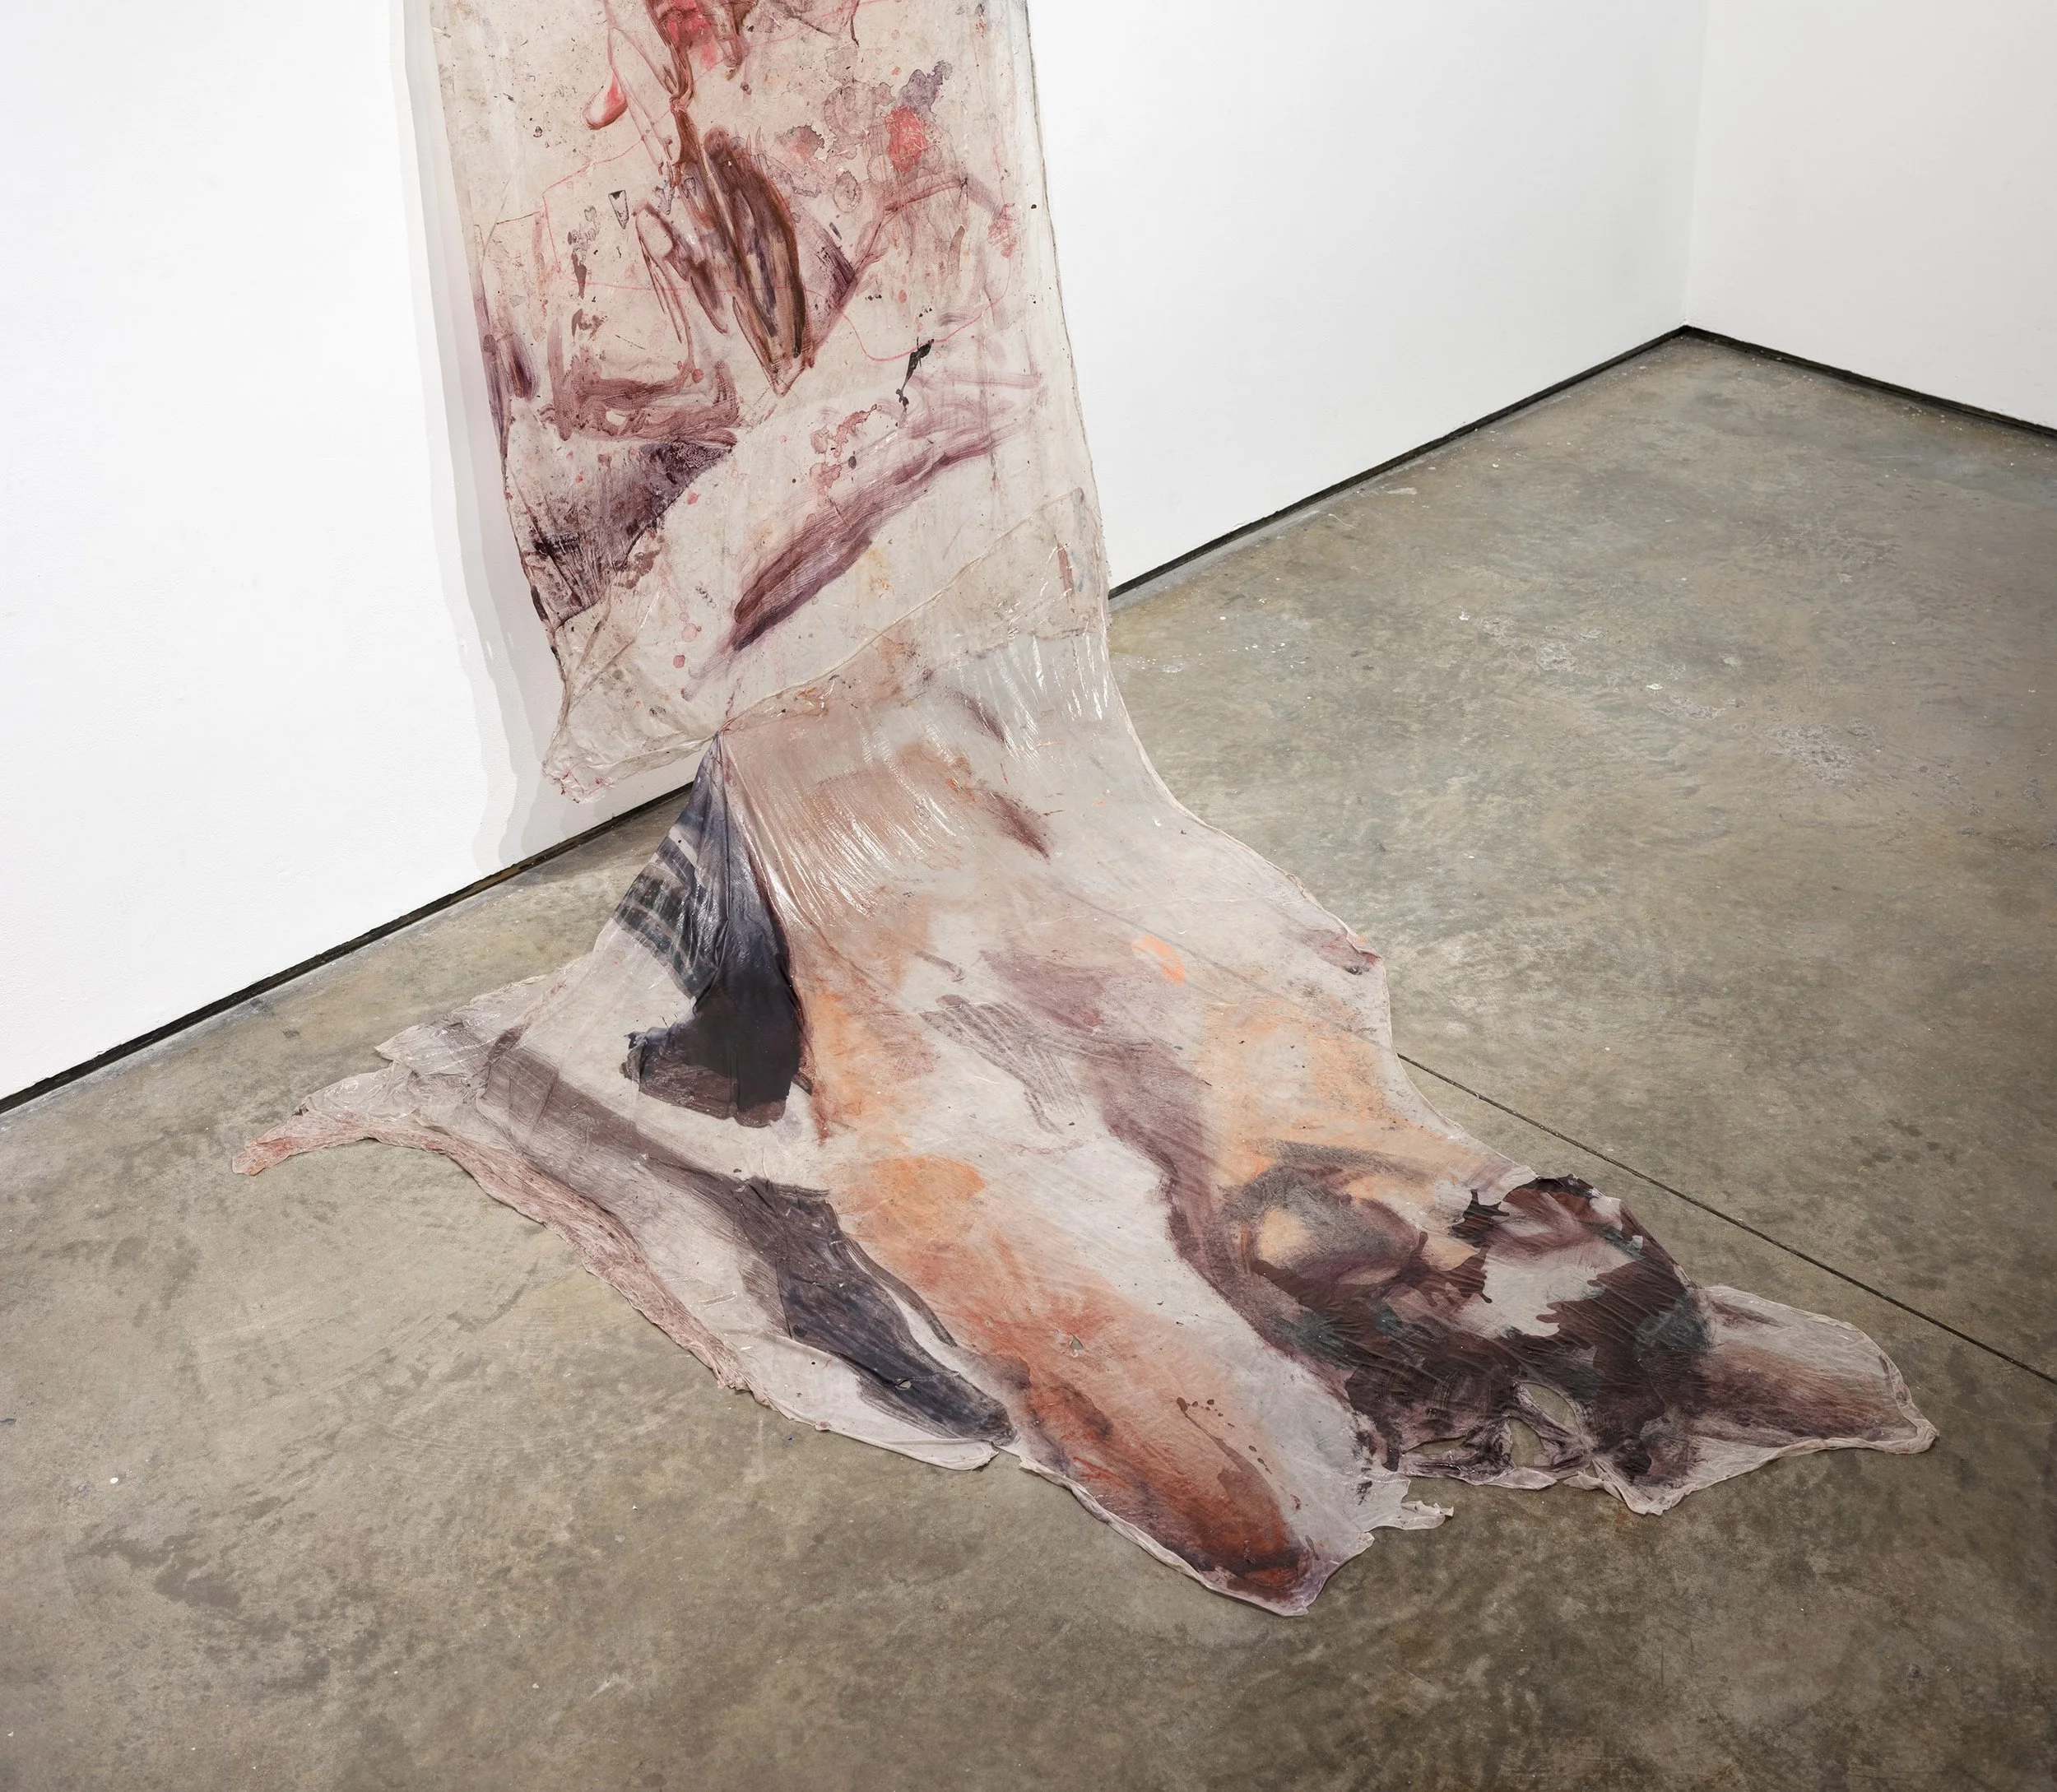
Floor Print III, Detail 2
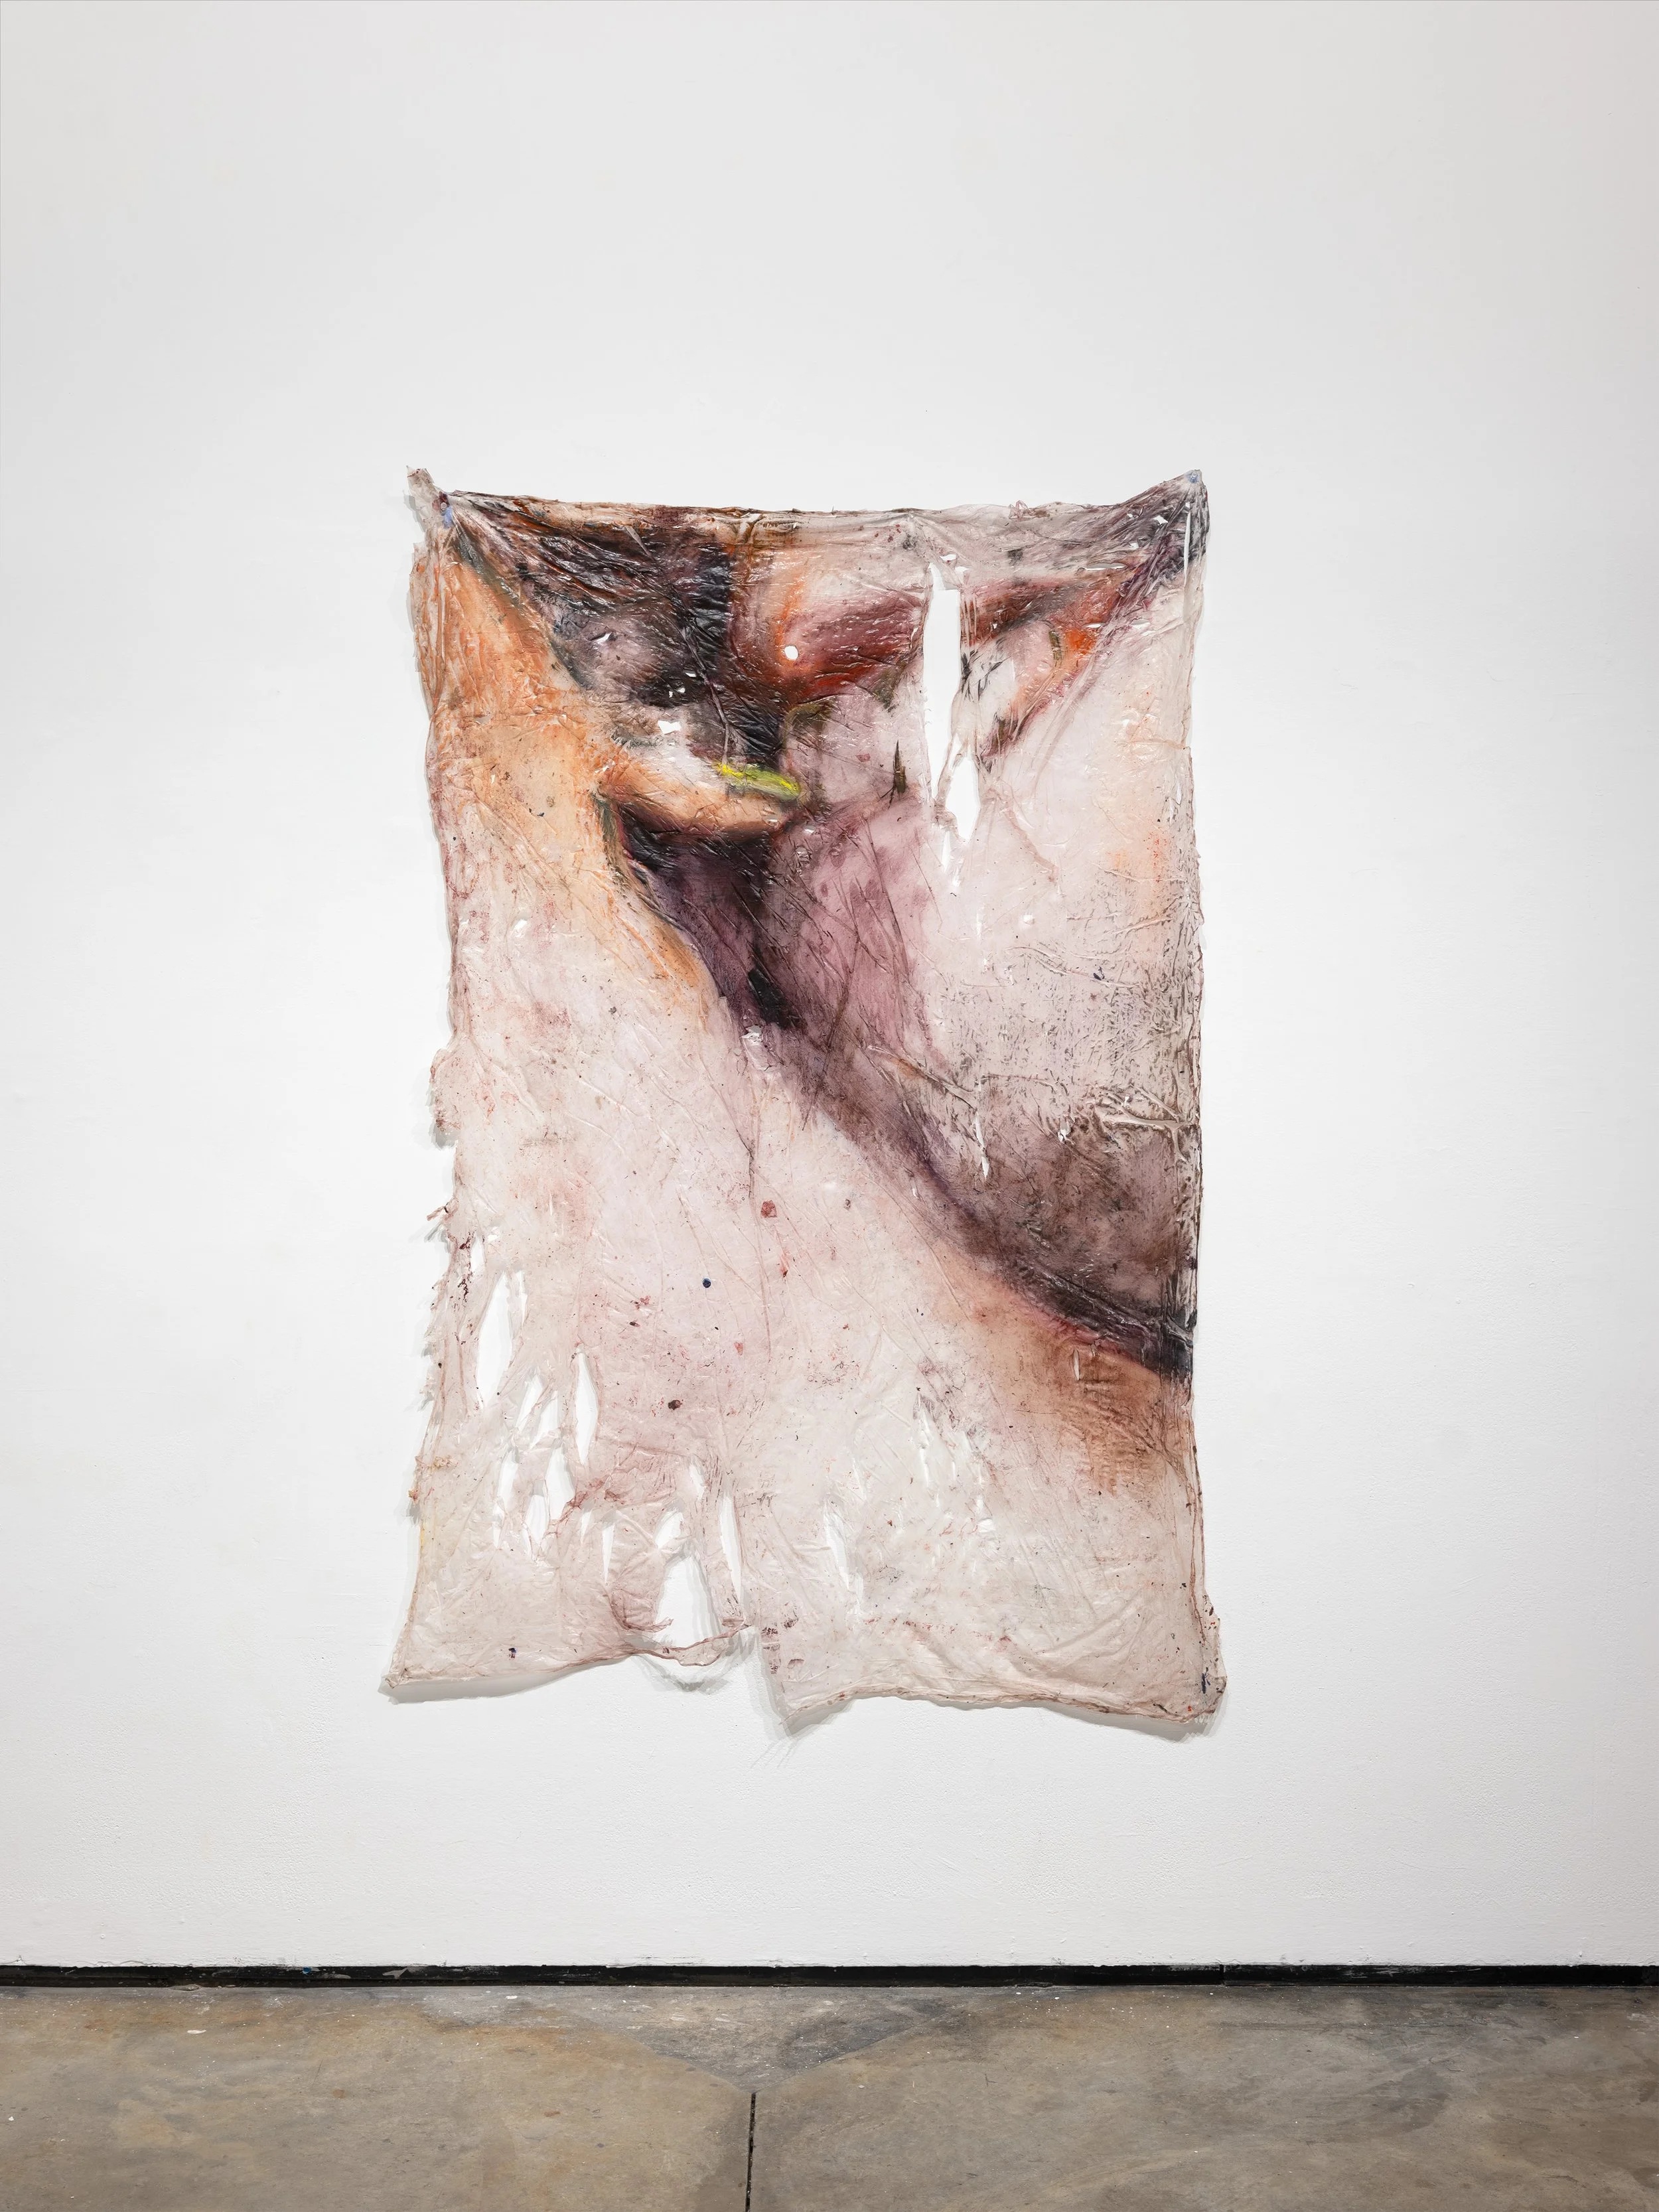
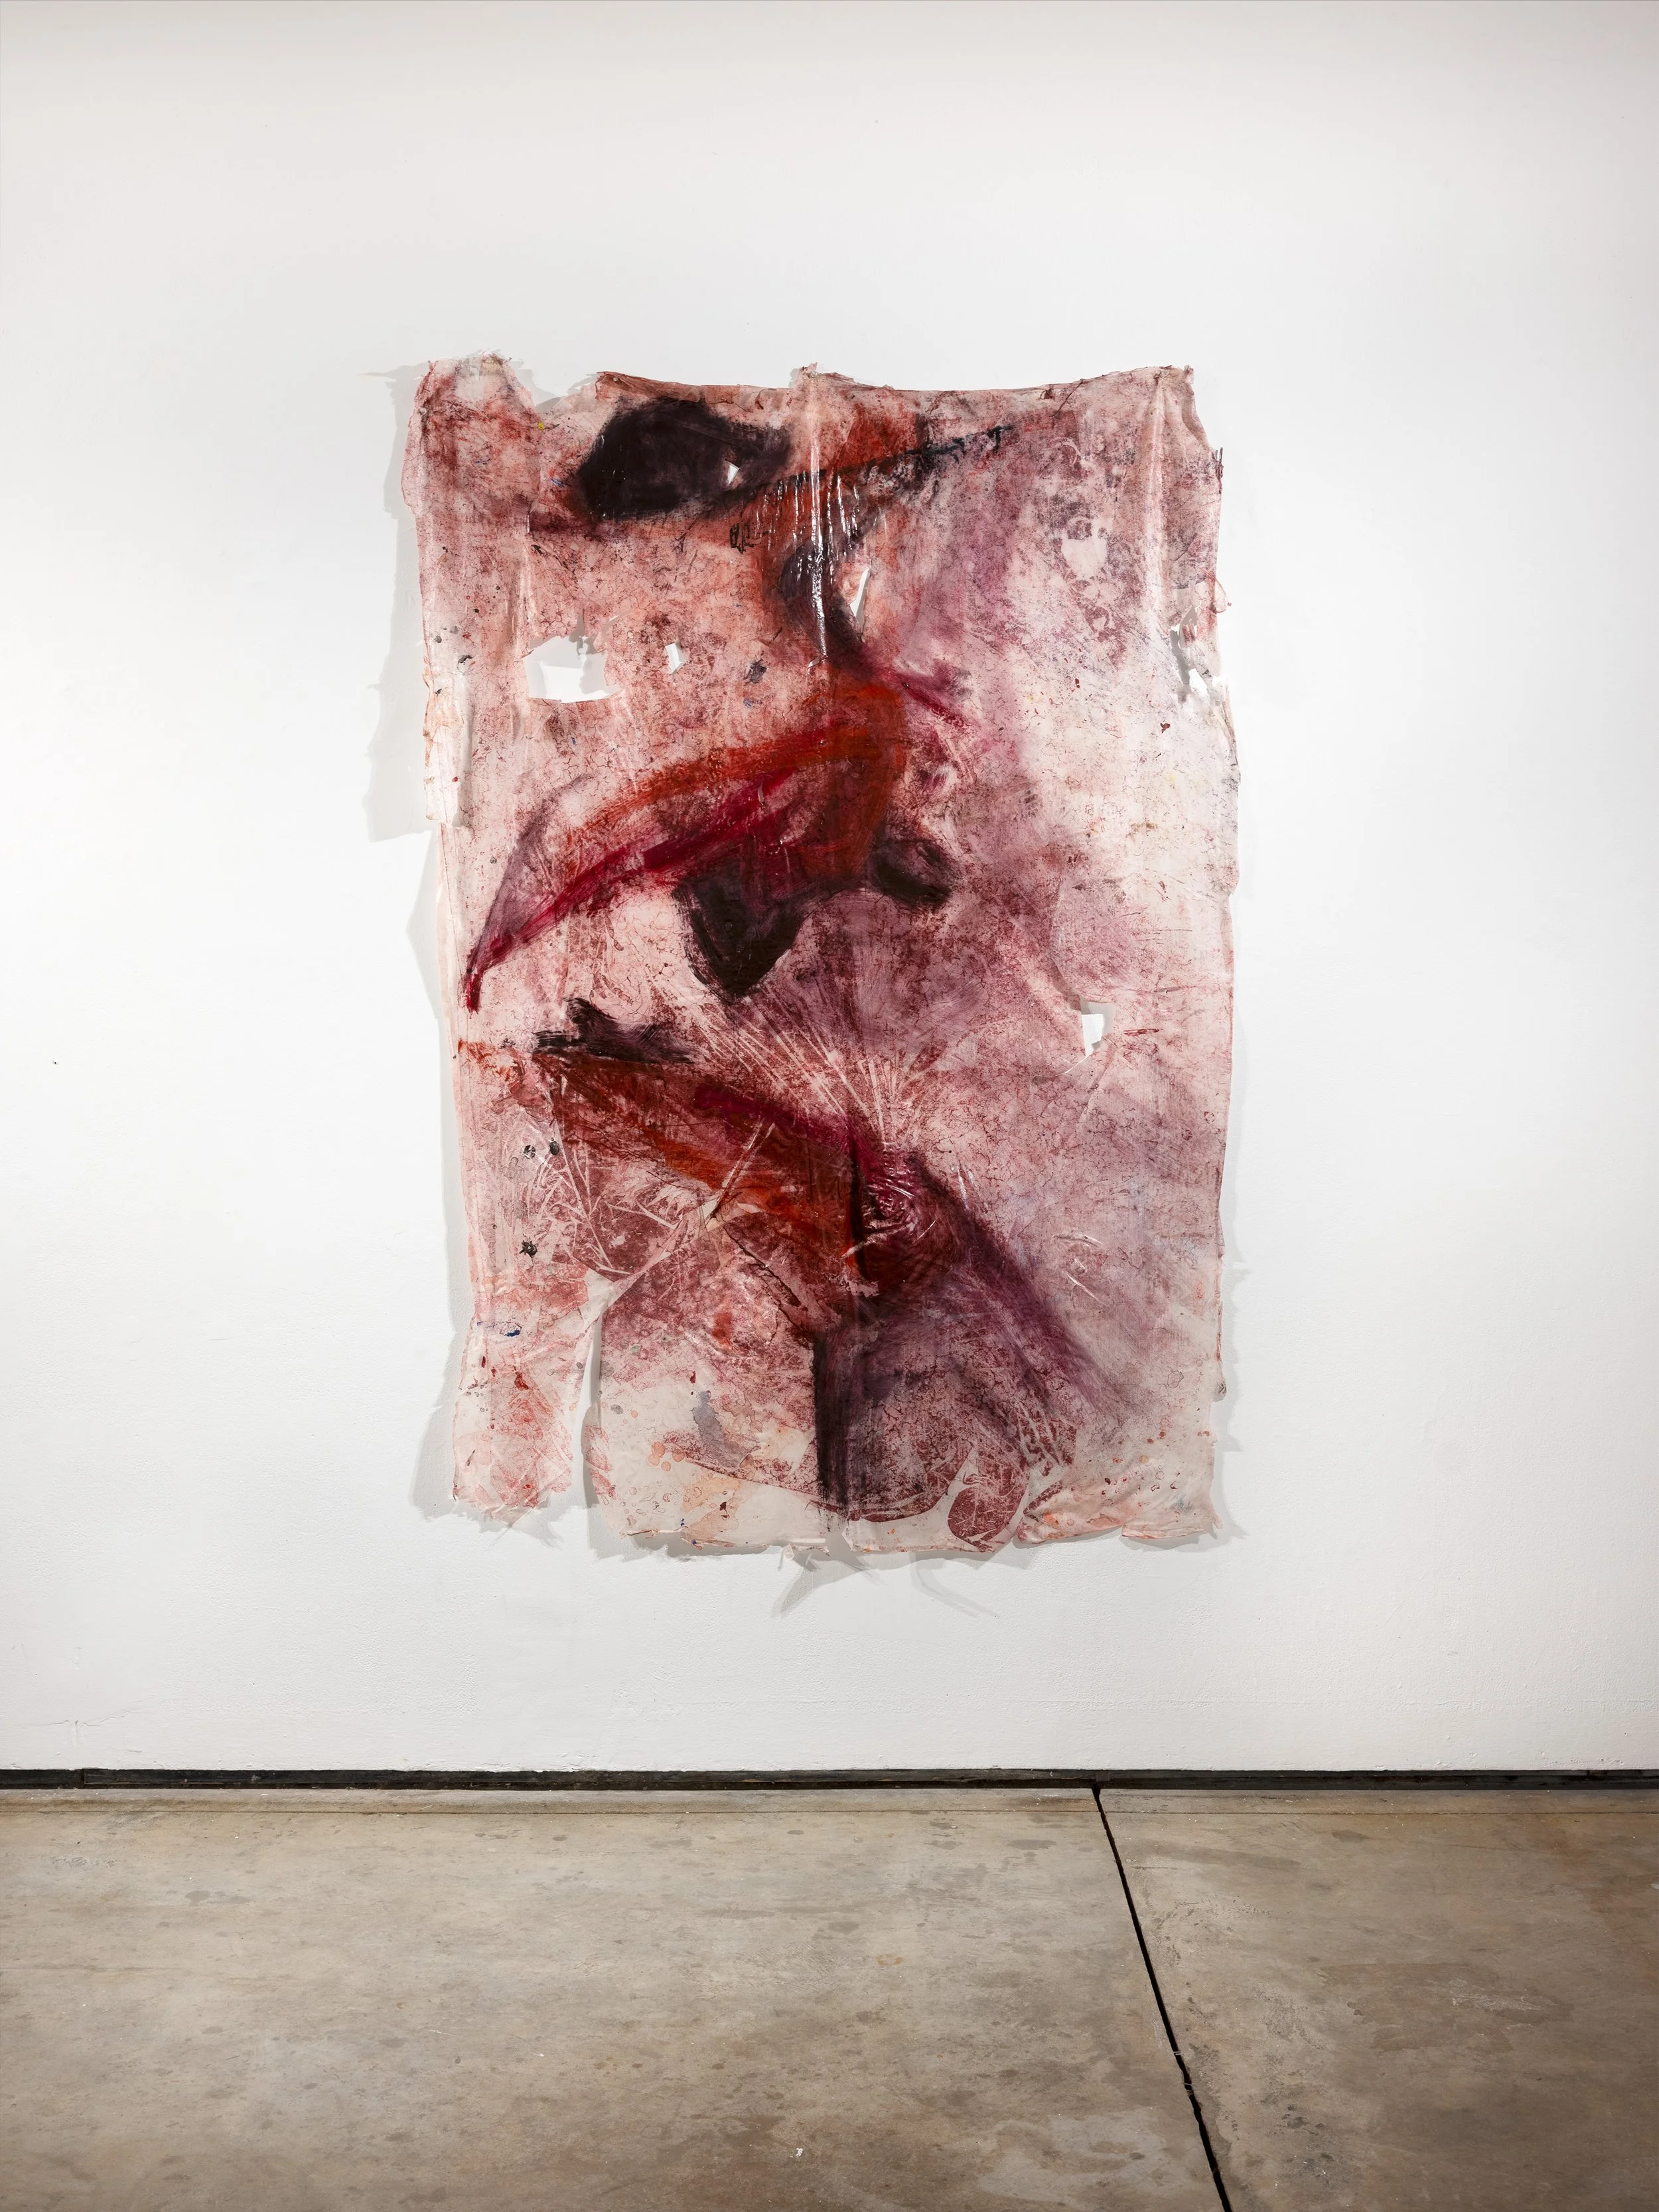
Floor Print II (2026) Oil and Acrylic on Synthetic Polymer Skin, 72”x49”
Floor Print II, Detail
Bite (2026) Oil and Acrylic on Synthetic Polymer Skin, 72”x49”
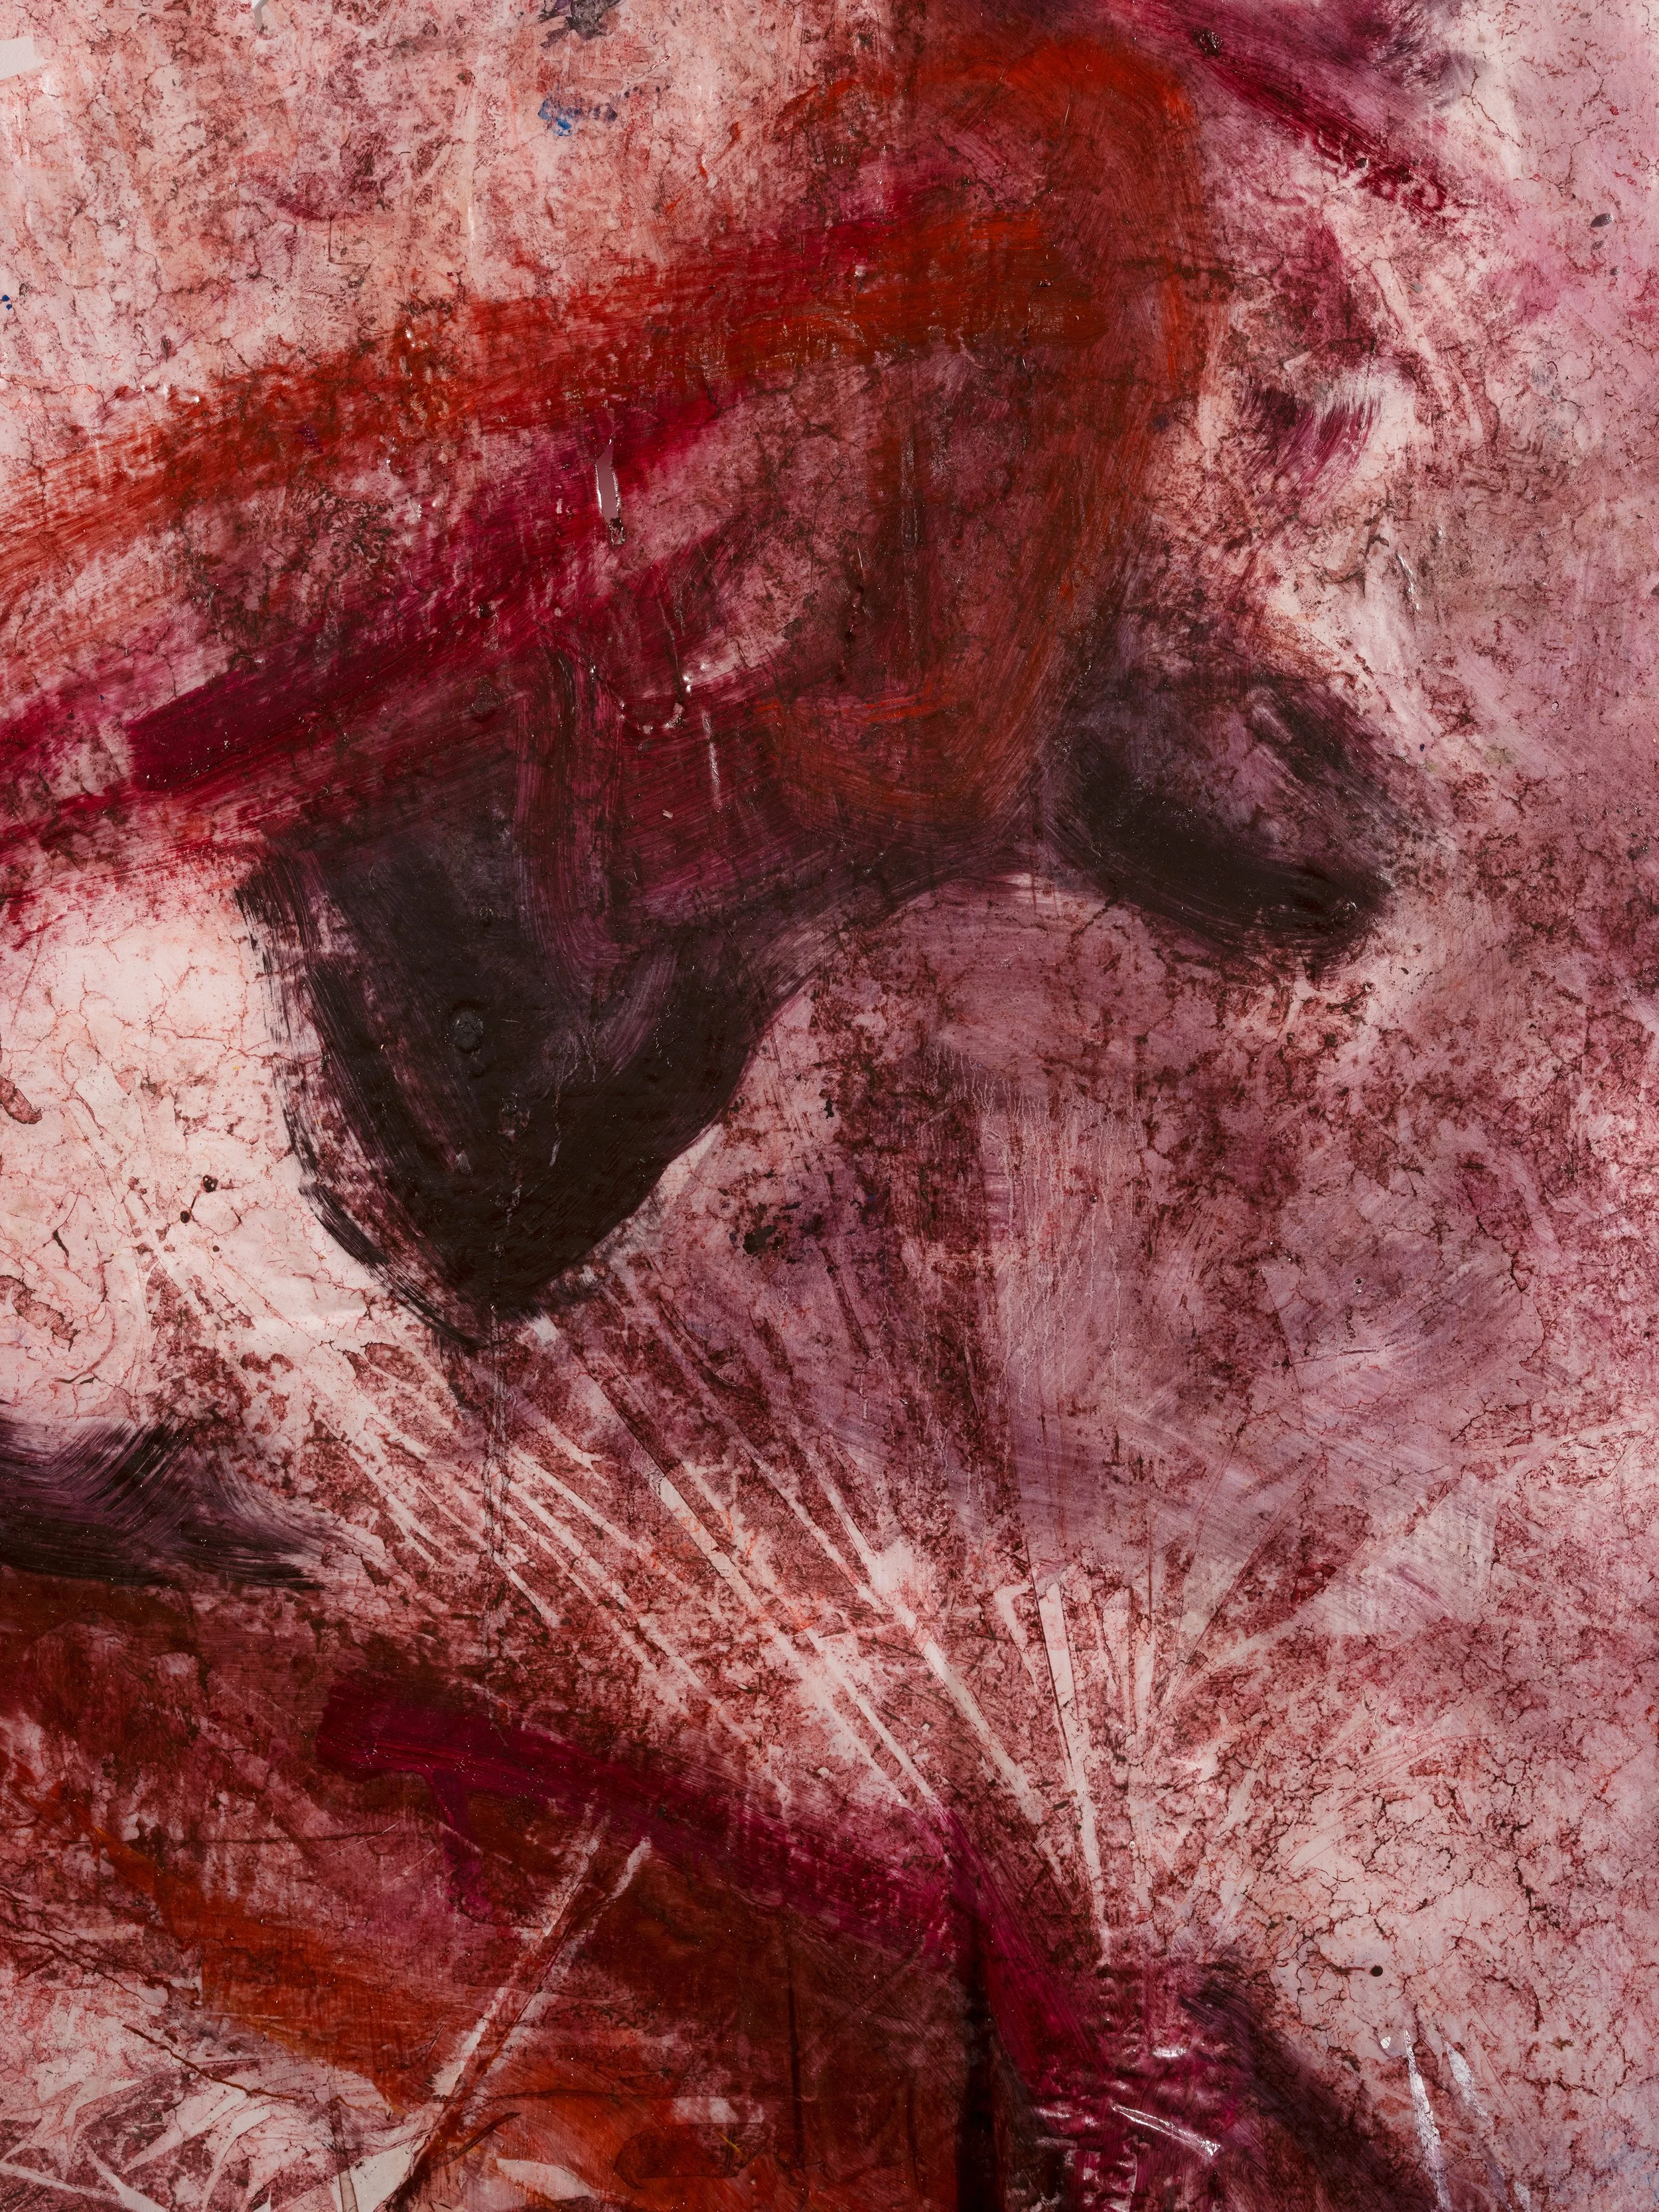
Bite, Detail
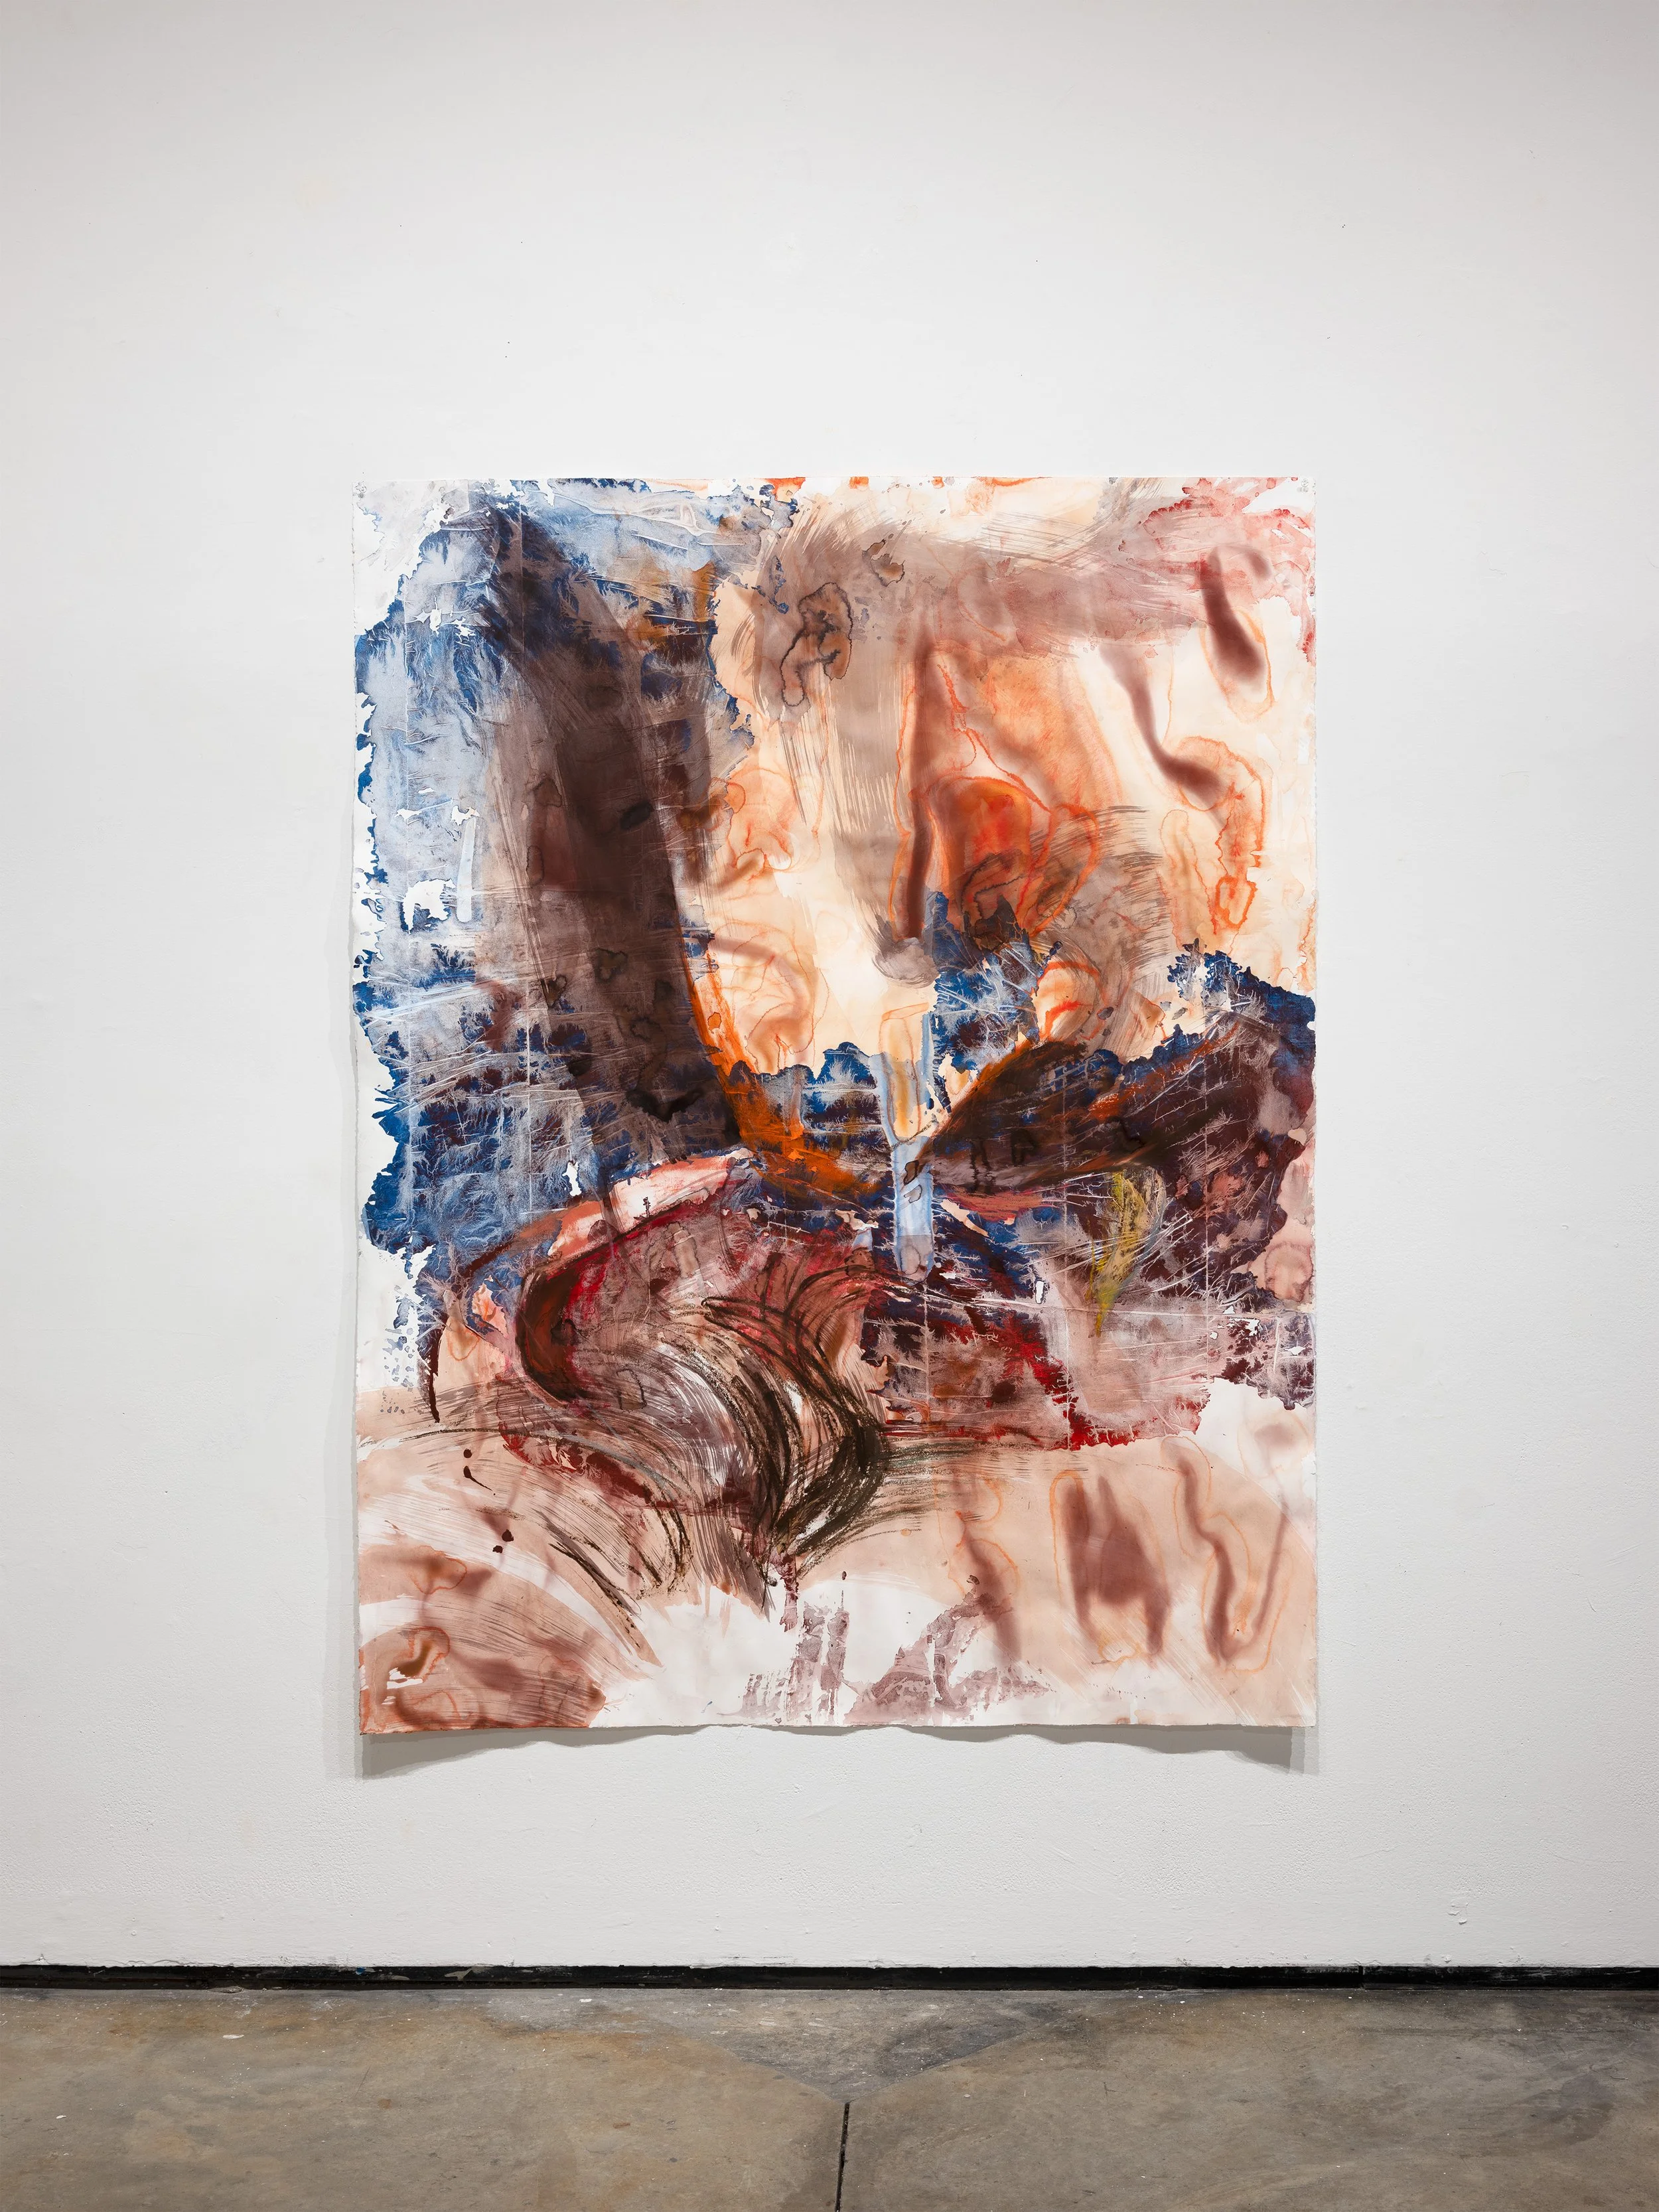
Spill or Whisper (2026) Acrylic and Pastel on Stonehenge, 65"x50"
Spill or Whisper, Detail